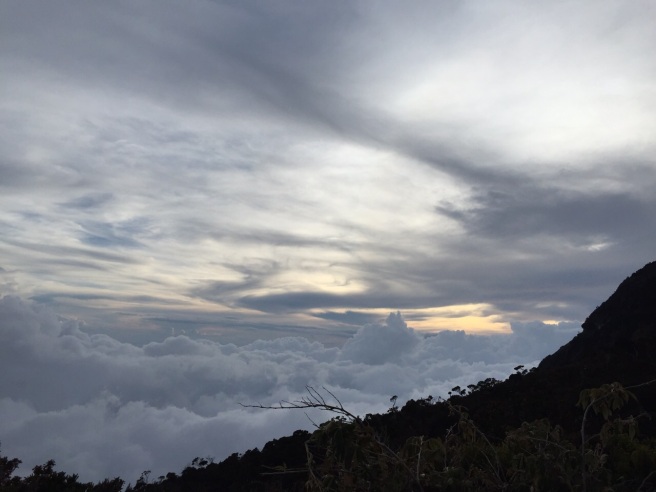
Malaysia | Gunung Datuk

This post took me longer than expected to write (begin, halt, resume). We have been quite busy since we returned home from 1 week camp in June. So, (hmm) it’s three months late for this to be up.

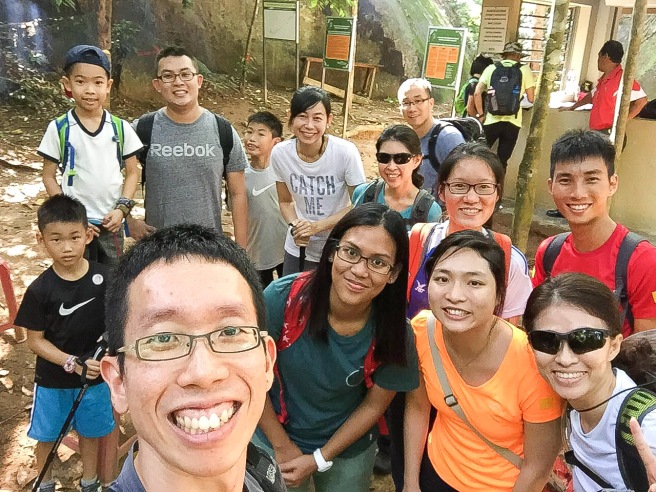
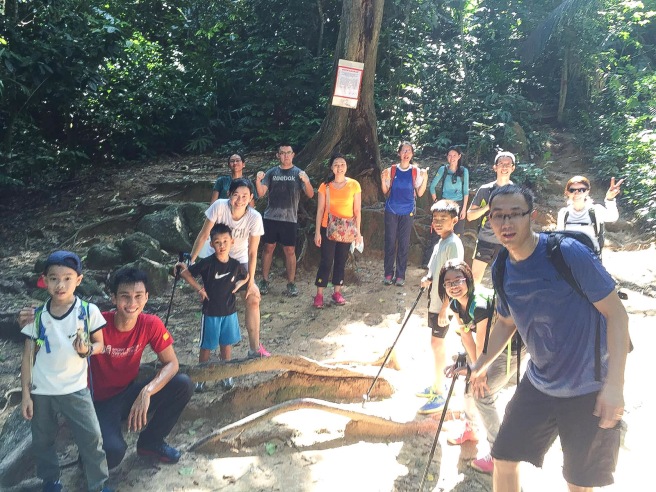
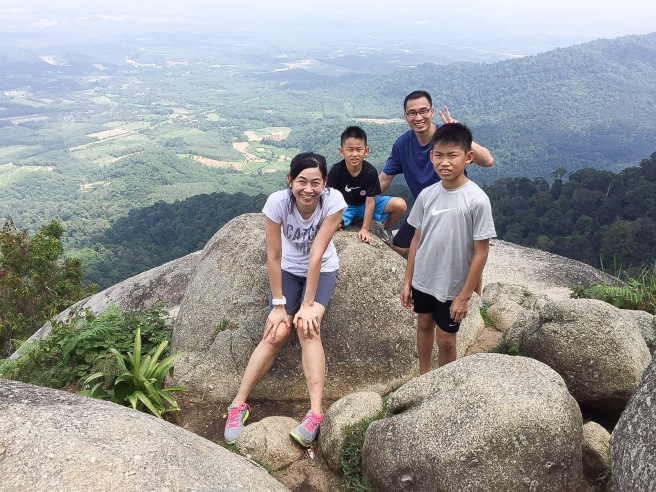
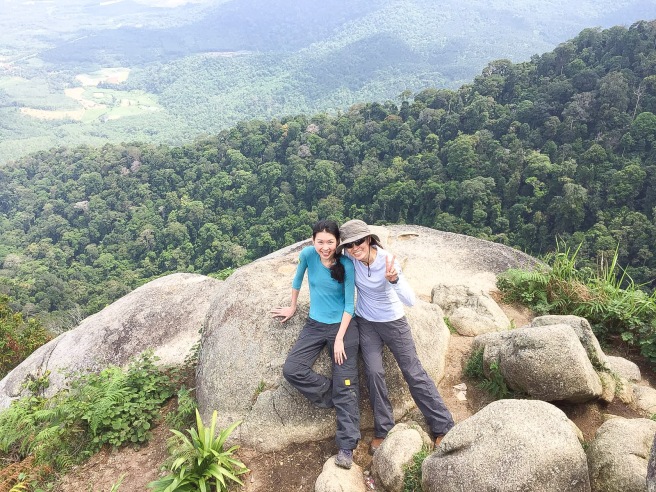
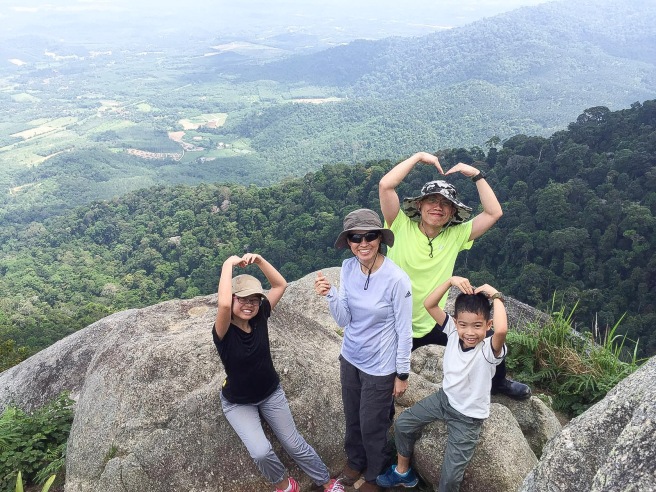
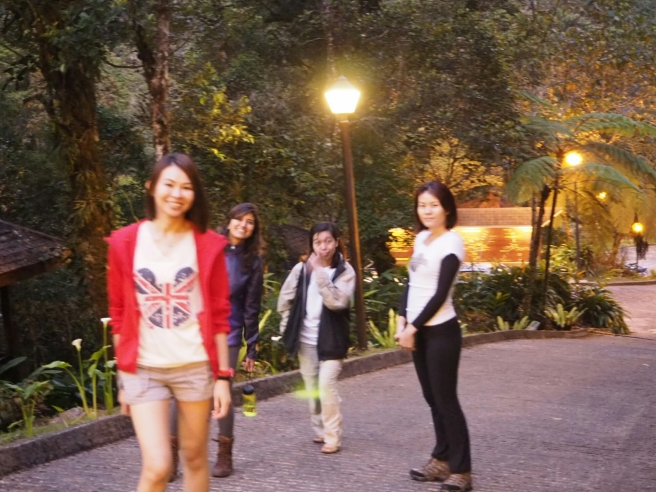
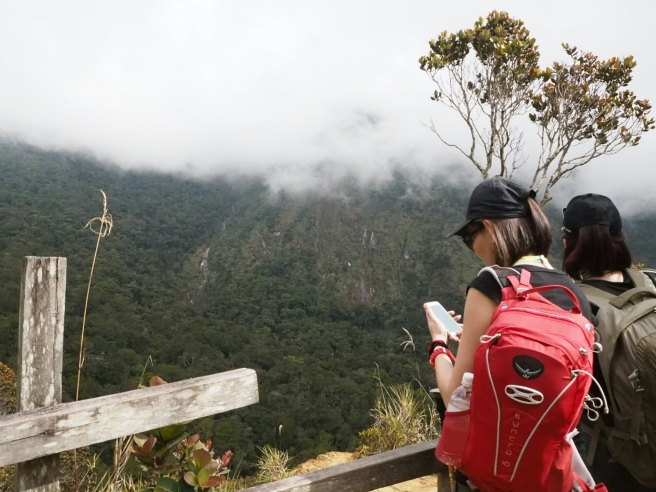
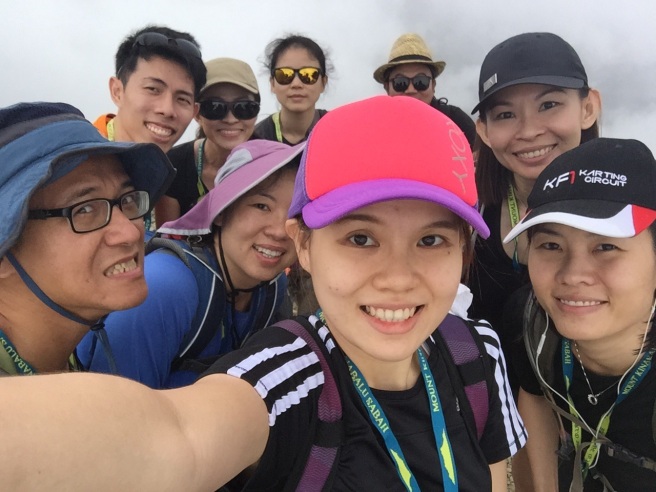
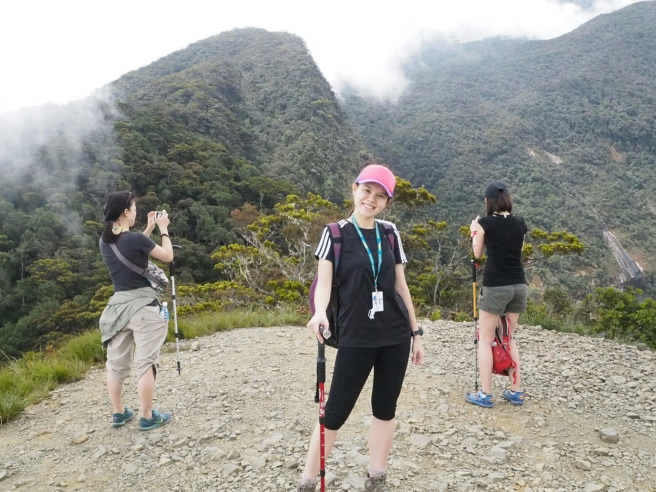
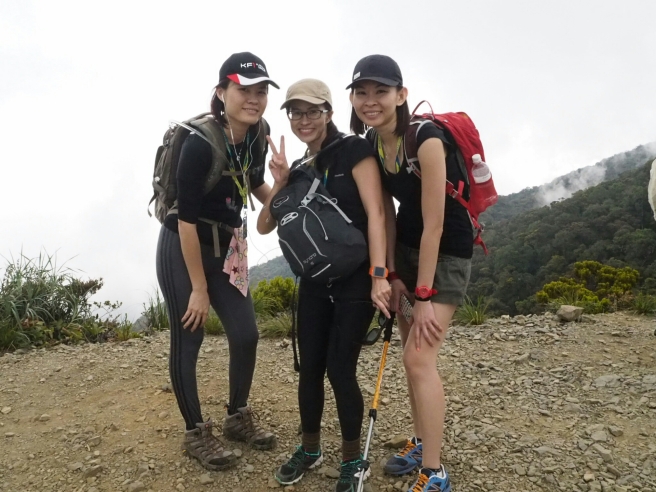
A pre-camp trek organised early this year between two families but it grown into a group of 15. We were glad that many joined us for this short trekking trip to Gunung Datuk, a 884m mountain located at Negri Sembilan.

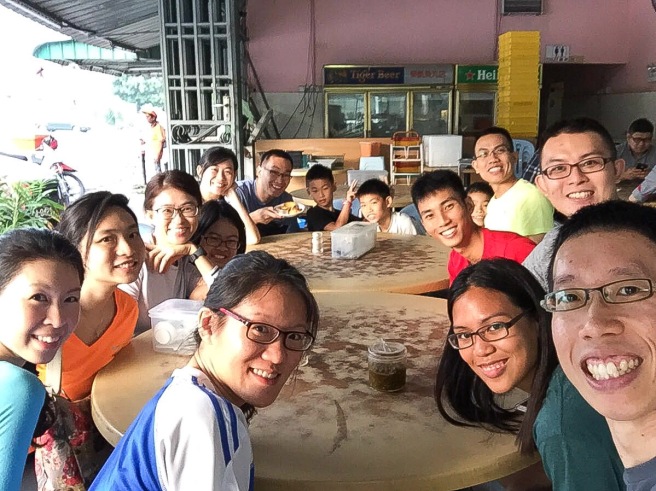
We started off from home pretty early that Friday, stopped at Yong Peng for breakfast before continuing our journey to Negri Sembilan.

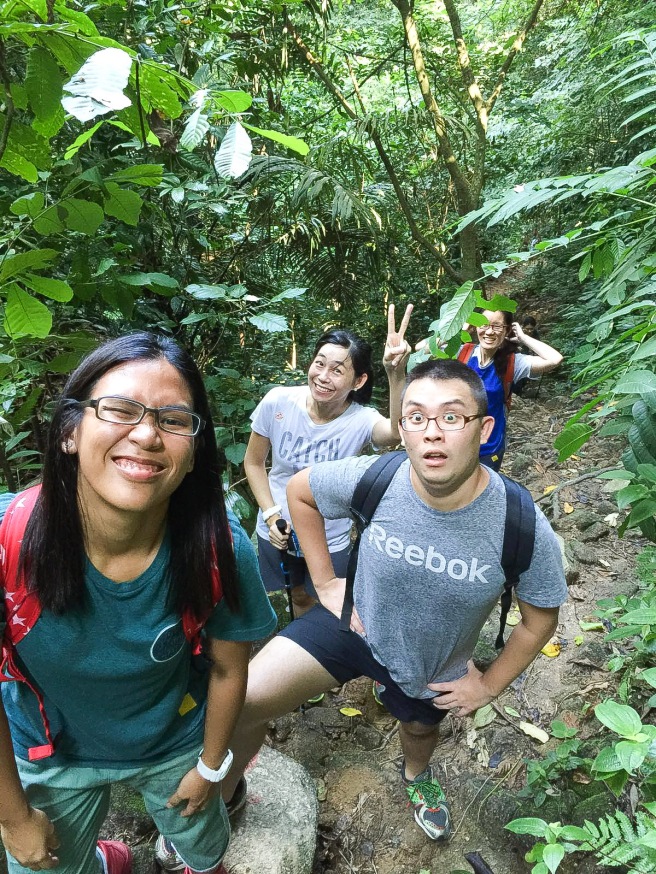
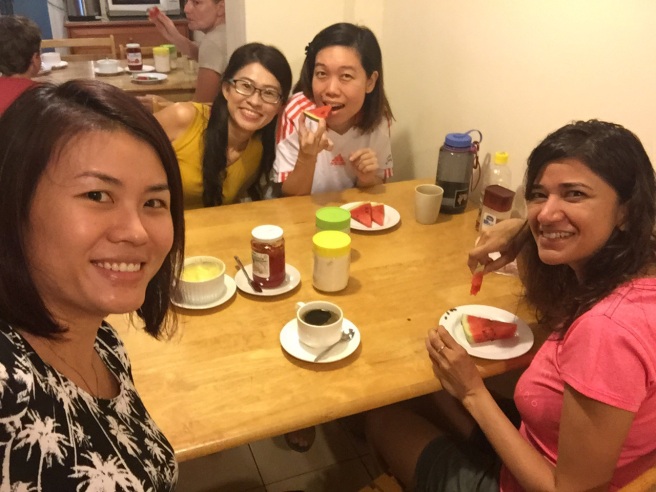
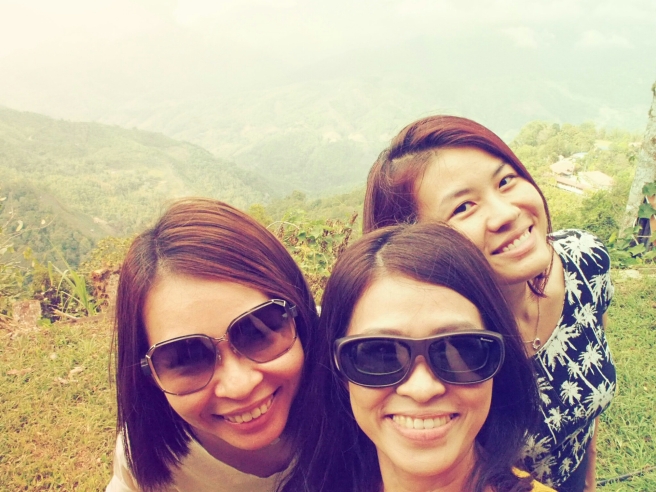
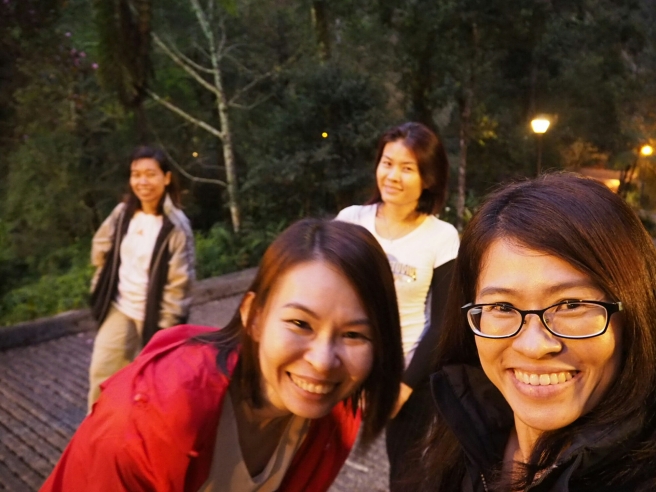
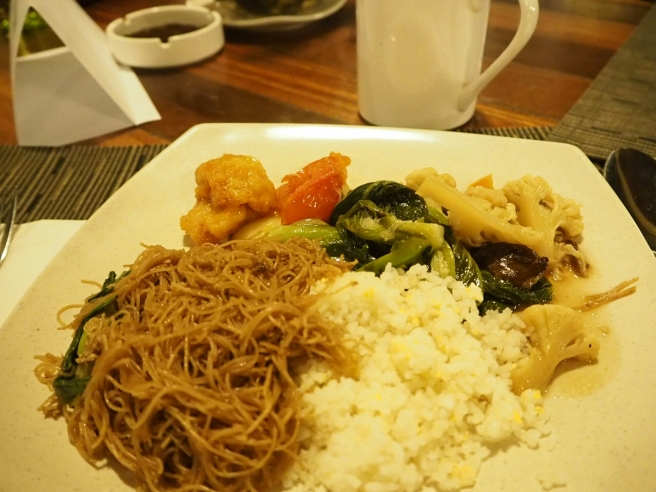
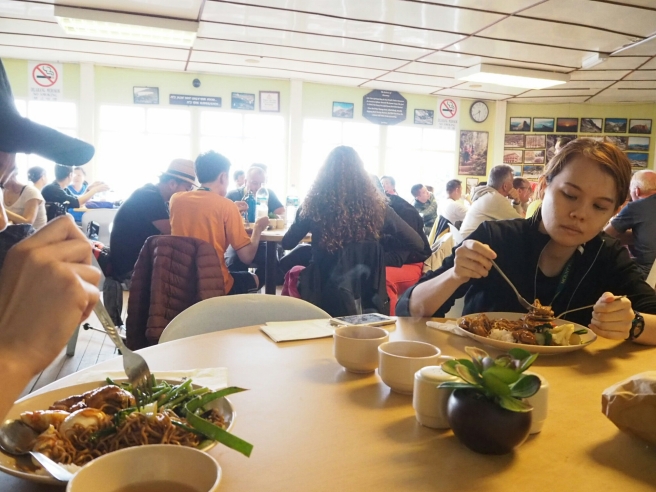
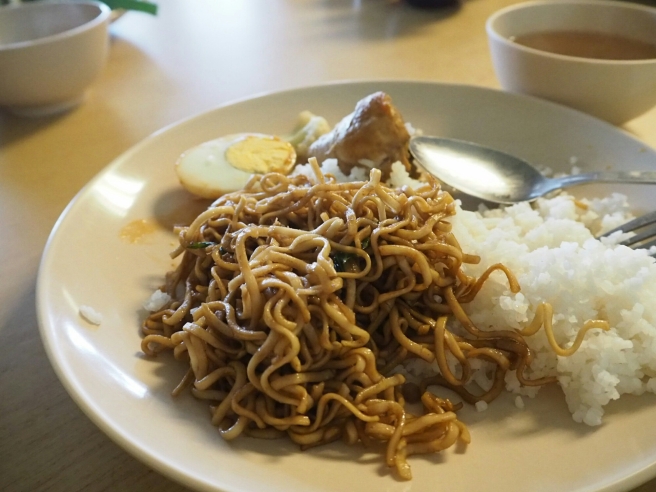
While waiting for our wantan mee and otah, let’s have wefie! Breakfast was good. I’m not sure what’s the name of this coffeehouse but food was good (introduced by Lem who loves food)

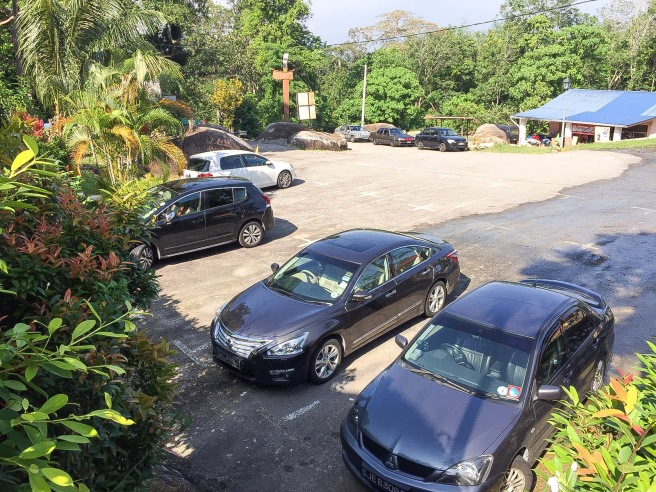
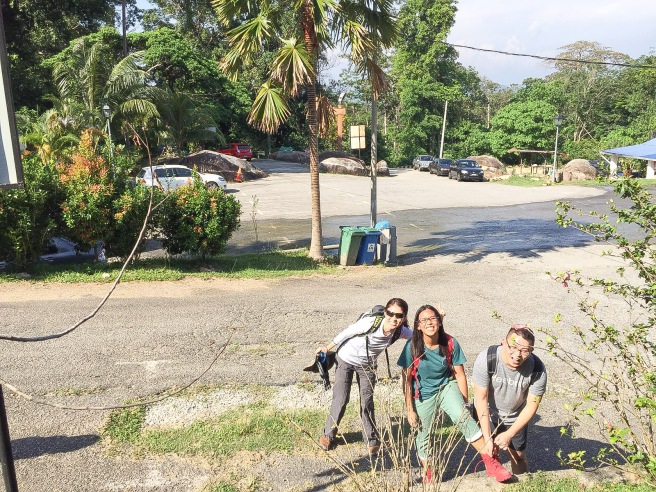
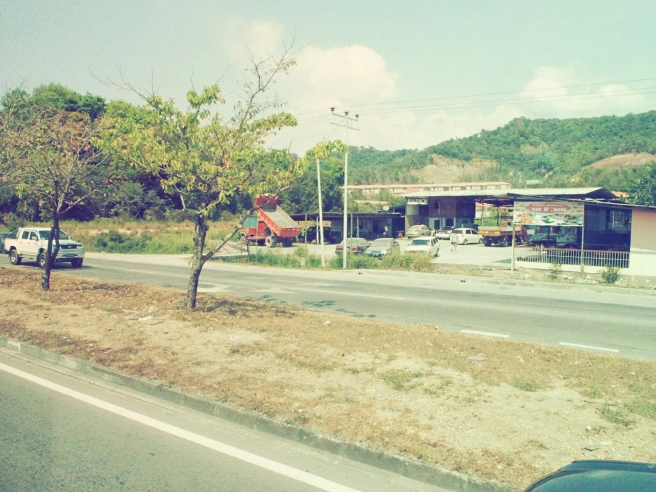
We arrived at the foot of Gunung Datuk around 10am. The place is pretty decent with proper parking space for cars, no buses are allowed as the narrow and winding road doesn’t permit big vehicles.

A quick visit to the washroom before we trek the mountain. 

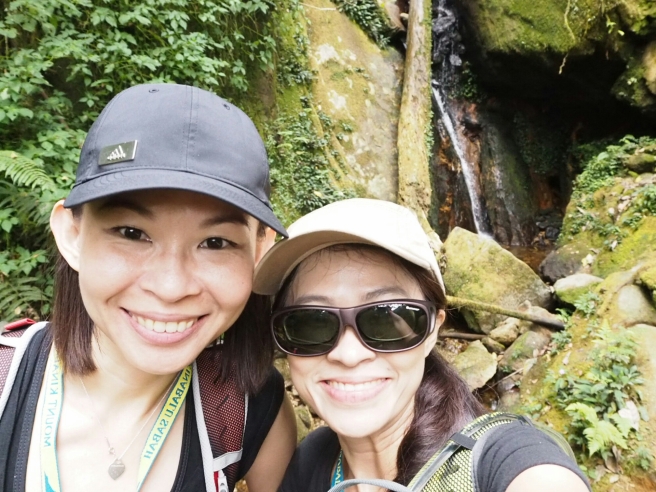
What a sweet couple! I just had to take a quick photo with them before we set off. Glad that I did! 😊

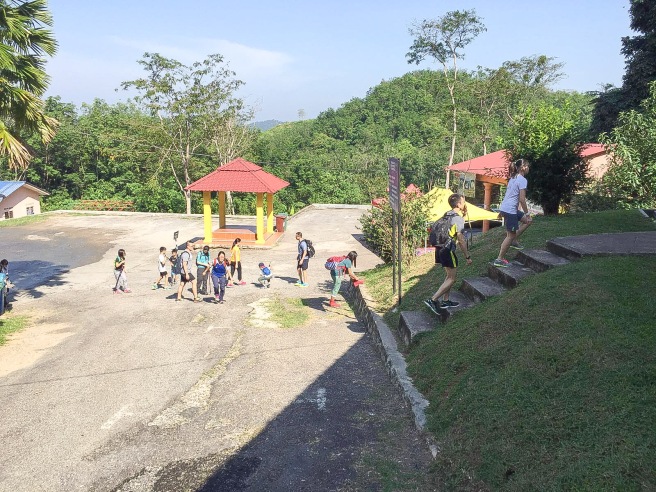
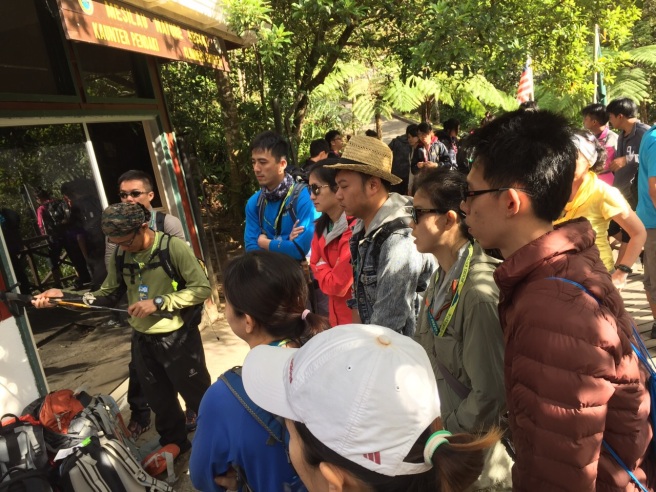
Registered ourselves with the local attendant before we were allowed to move farther in. At this moment, we weren’t attack by any mosquitoes (yet). The uncle made fire, burned some dried leaves and branches to keep the mosquitoes away.

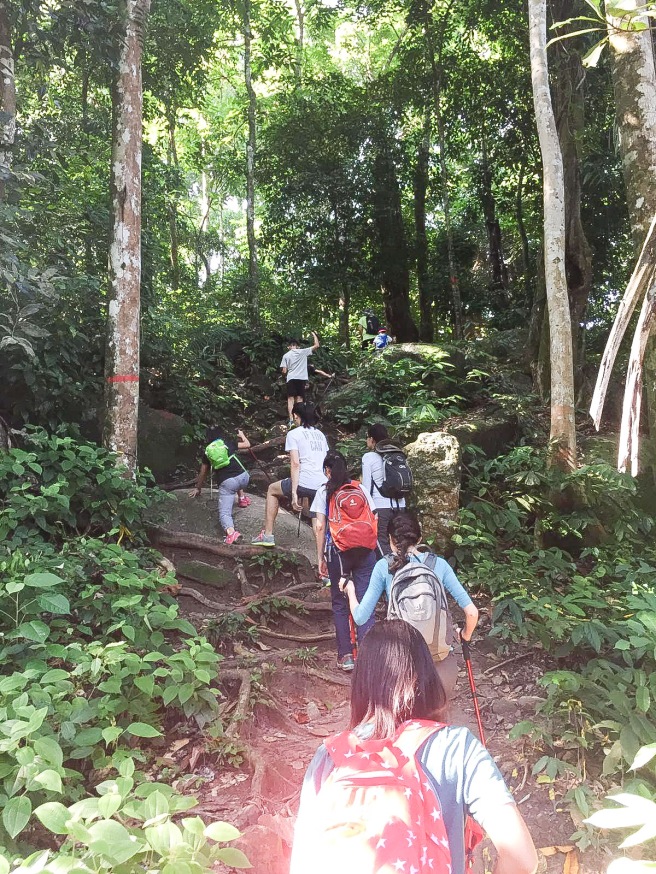
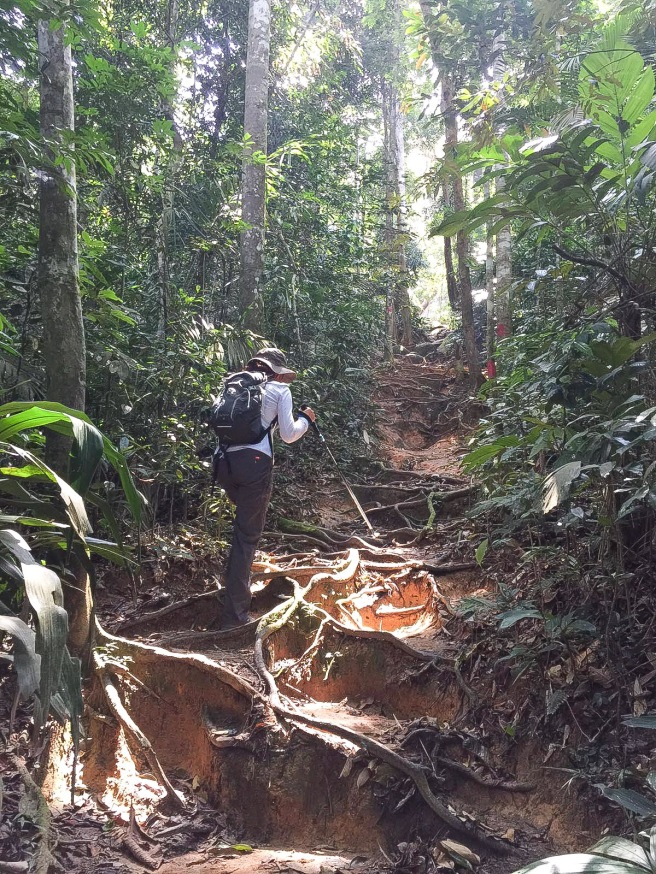
Here we go! It was quite a gentle ascent when we first started.

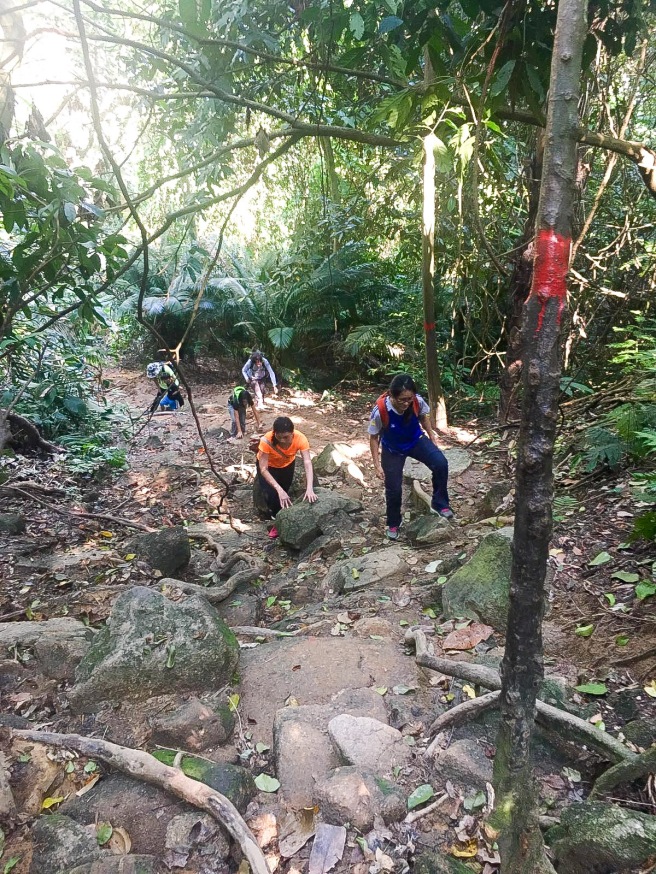
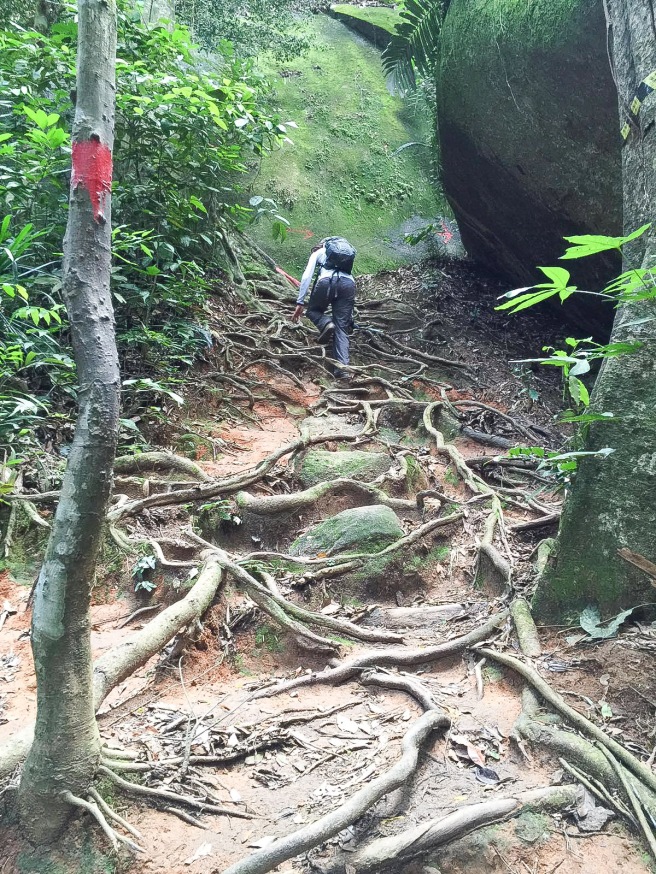
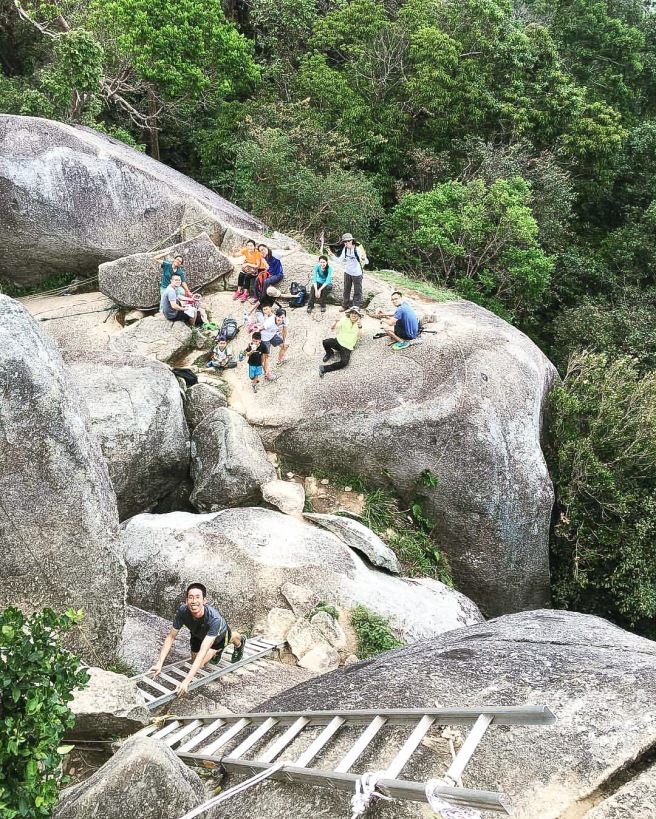
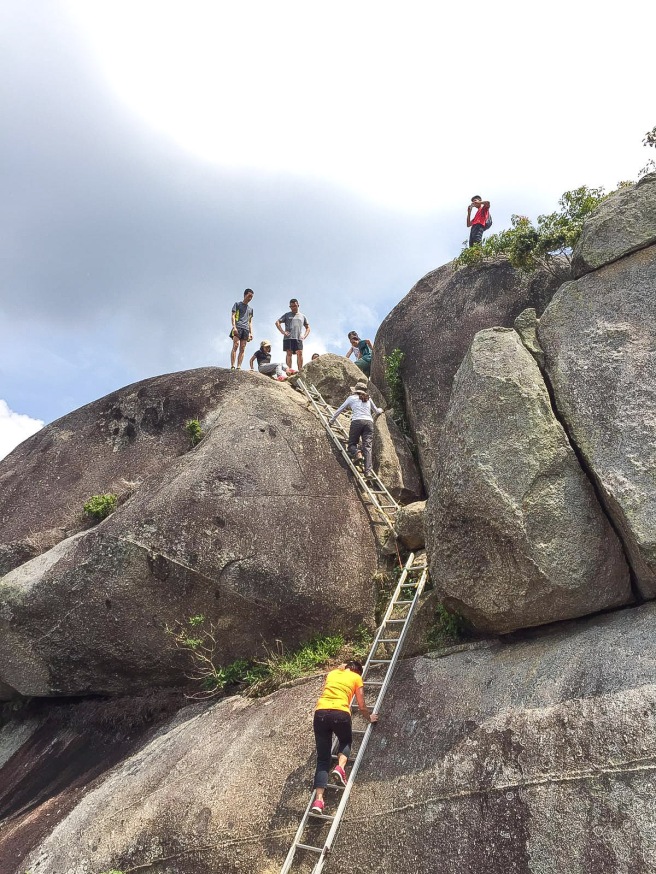
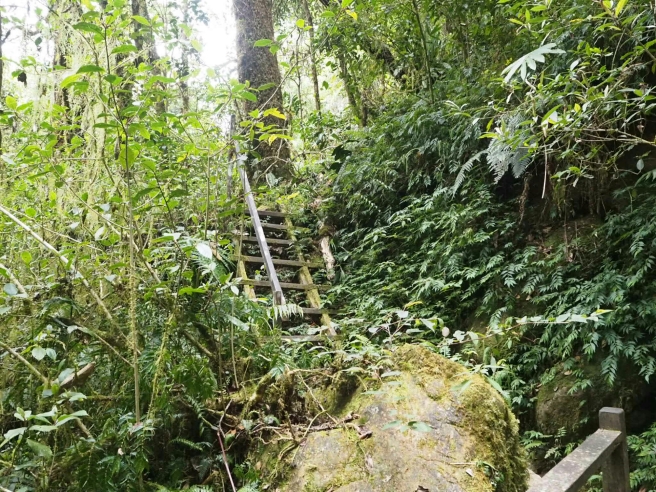
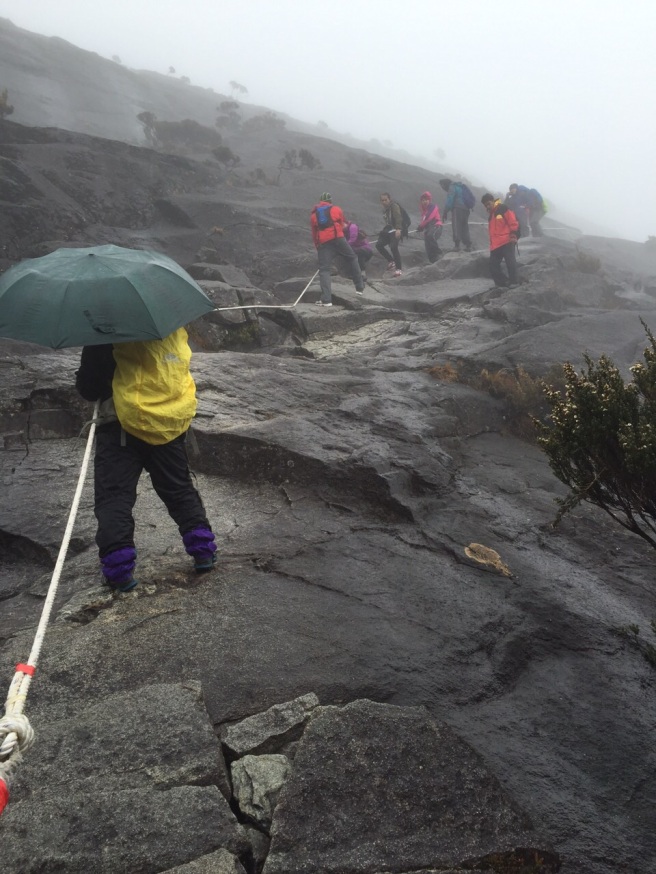
But gradually, we met with some pretty steep slopes that most of us needed to find our balance through holding the rope. It’s not just one short section, if I remembered correctly, it’s 4-5 sections with sharp rocks which we had to climb over and trekked up. Hiking poles may not help at this point and may be too handful to handle.

One thing that kept all of us going without short break was the mosquitoes. I’m not talking about a few of them. It’s a swarm of them 😓

Resting at mid way but we didn’t stop for more than 5 mins and we had to move on because we were surrounded by the commando mosquitoes that bit through our clothing. (A friend had 80 mosquitoes’ bites! 😨)

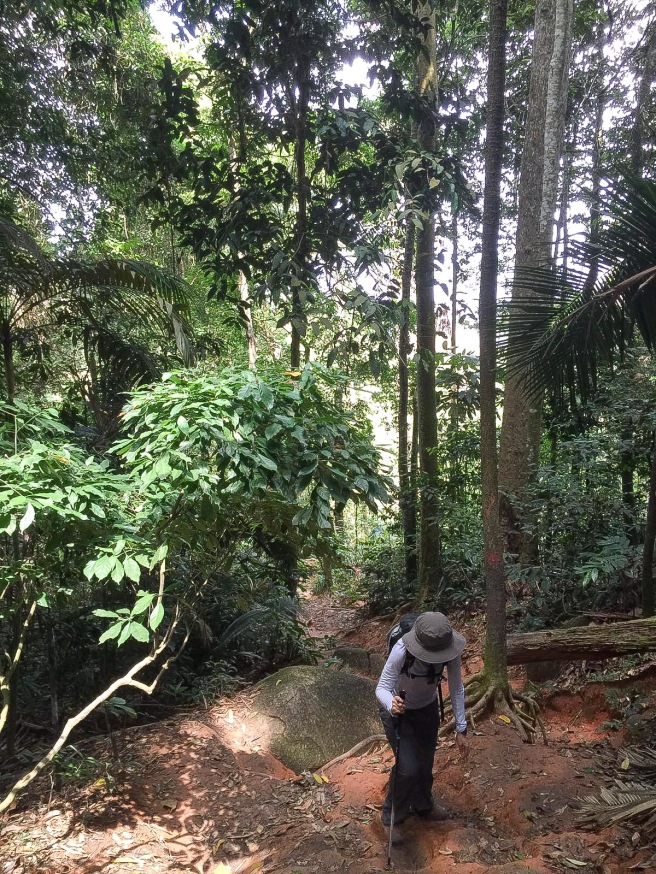
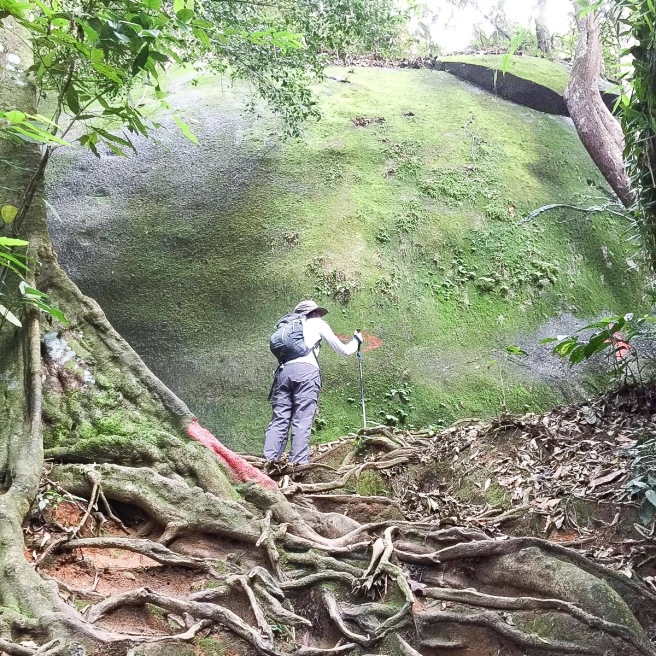
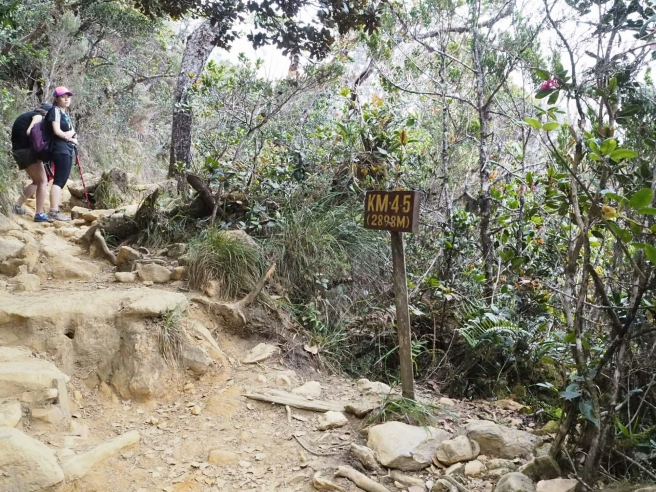
Which way to go? Just follow the red paint marking and you will be on the right track. The marking can be on the tree trunk or big boulder.

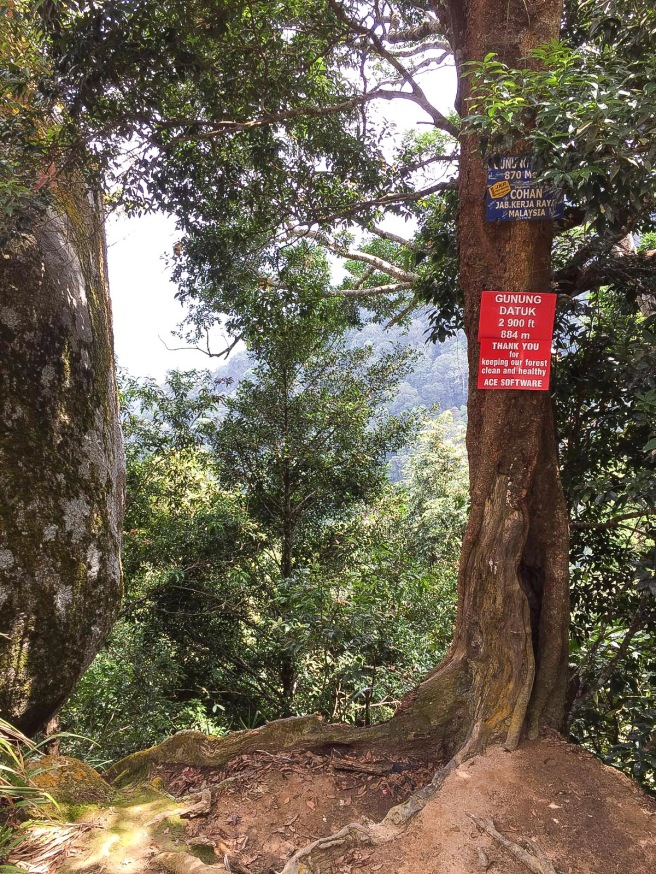
When you see this sign, you are near the summit ✌

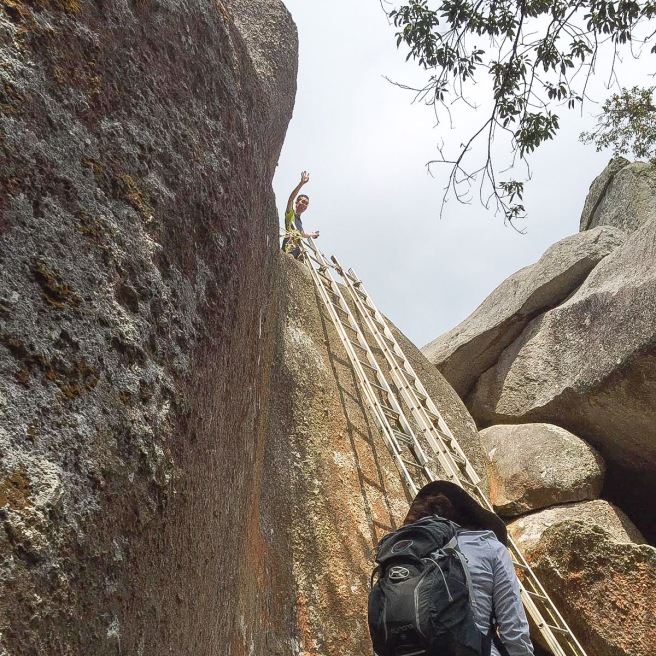
Our kids went ahead of us following the young adults and surprised us with their bravery in attempting the ladder leading just before the summit. Before this trip, we were saying that they (kids) may not be able to make it. Oh boy, we were wrong! Don’t belittled the little ones especially when they were inspired by all the older brothers and sisters.

The third set of ladders to climb to reach the summit. 

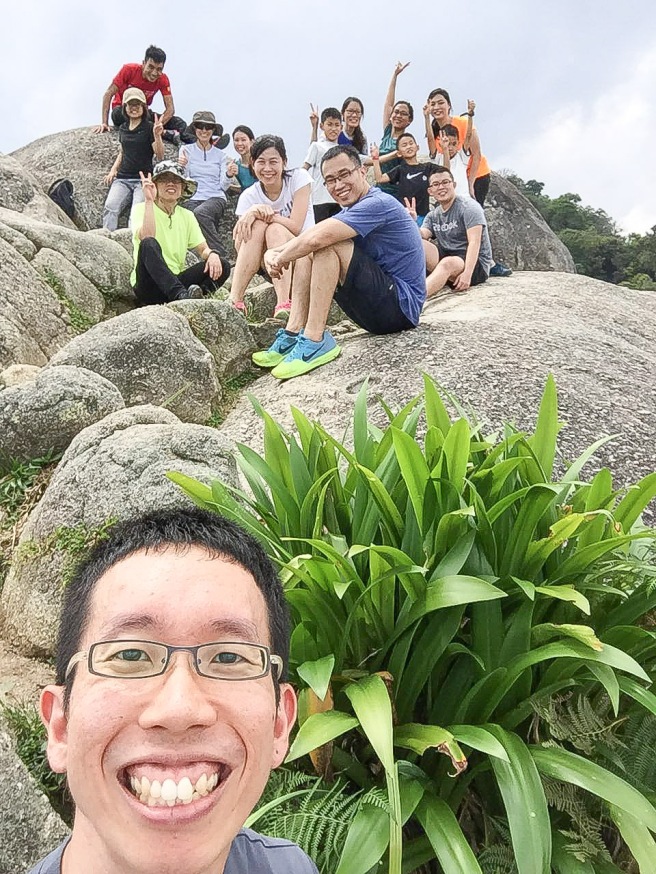
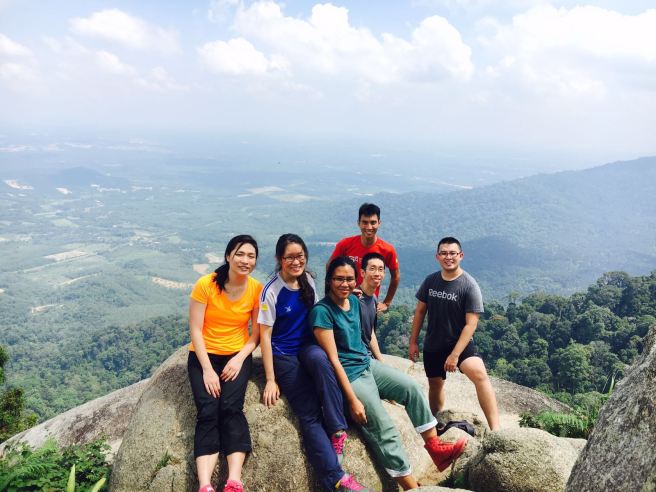
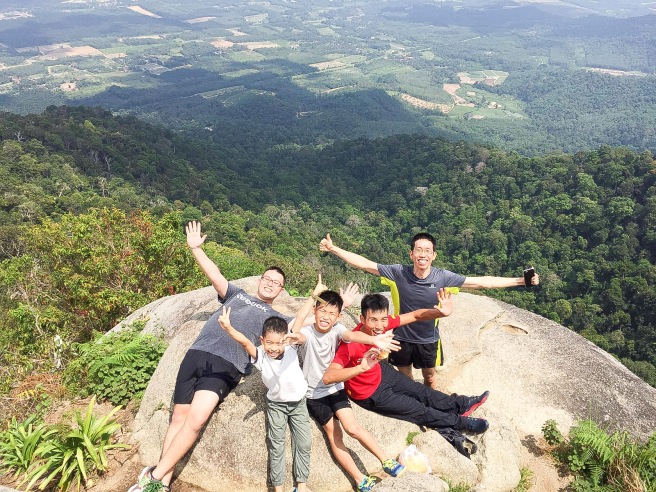
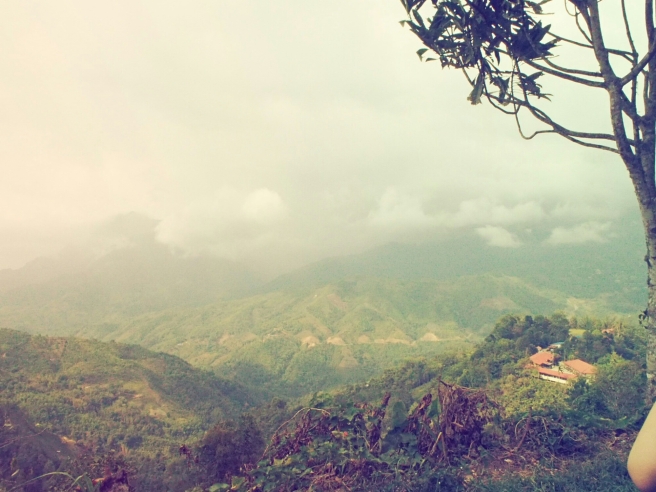
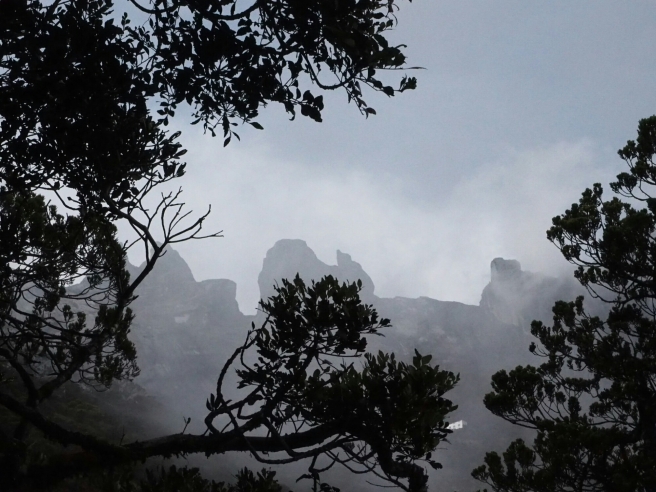
We had our packed lunch up at the summit.  Took some photos, enjoyed the scenery, had a few scares with kids moving about. The kids aren’t afraid and I think I had a few heart attacks seeing them moving about so fast (they don’t seem to know what’s danger). I need to learn to give them space to grow after telling them all the dangers involved. They thrived better than we thought. 

We made our way down when it started to drizzle a bit. No photos taken while on our way down as it was pretty steep. When you think it’s steep to trek up, it’s steeper when you trek down. 

Take note! Accident can happen when you are not careful especially when it is steeper, losing our balance is one of the factors, when tiredness sets in. Weak knees, sharp rocks and loose soil can cause one to slip and get cuts.

Don’t rush down, keep your focus, go slow and you will make it down safely. 

Having a trekking poles to me at this point helped my knees and find the balance as I moved down. 

I’m truly thankful for safety, for fellowship, for friends who helped watch over our kids as they prefer to go with them instead of following old folks like us 😎

“It wouldn’t have been the same if we did it individually.” (Truly, I agree!)

😊😊😊

Hanoi | Mount Fansipan

This post was supposed to be out last December but I came back with a bad muscle aches and tiredness took over from all the exhaustion hiking up 3143m.

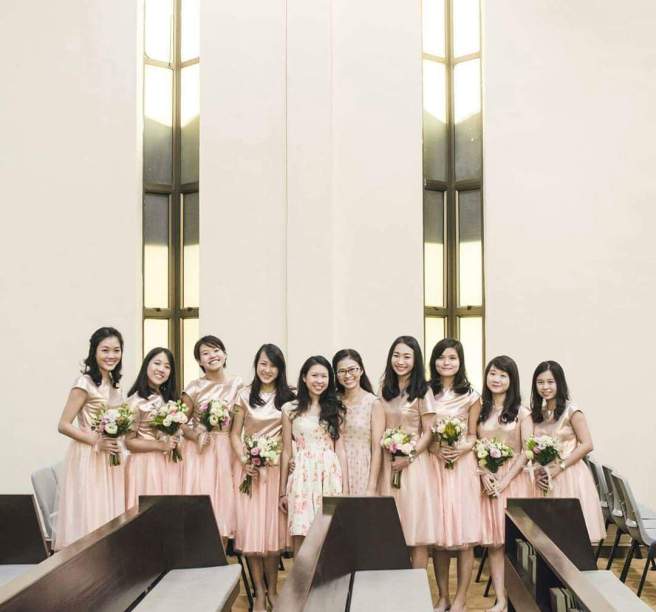
In between rest and home front, I did some last minute alteration to the bridesmaid dresses that needed to be ready the same week. While typing this post, i am reminiscing the time spent on measuring, drafting, getting the right fabric ready, cut, sew, fit, alter and let the girls had their final fit, the feeling of excitement to stressful (will the dress fits other than myself? 😰) to enjoyment (oh the dresses fit!!! need improvement too) to learning new methods as we (D and I) continued with the dresses to a huge relieve when I saw the girls wearing it on that beautiful day. (Thanks again my dear A&Z for trusting in us!)
image

Alright back to last November, a week before December and 14 hours after CMC camp, D and I went on a trip planned since last June but nothing solid formed till the last few weeks before the actual trip. Did some homework on Hanoi and what excited me was Mount Fansipan which was just 10 hours away. Comtemplated for a long time (not much training done due to the terrible haze back then) and excitedly told D, “Let’s do Mount Fansipan!” That’s what I told her. She agreed to it so readily (without knowing what she has gotten herself into) 😰😰😵
image

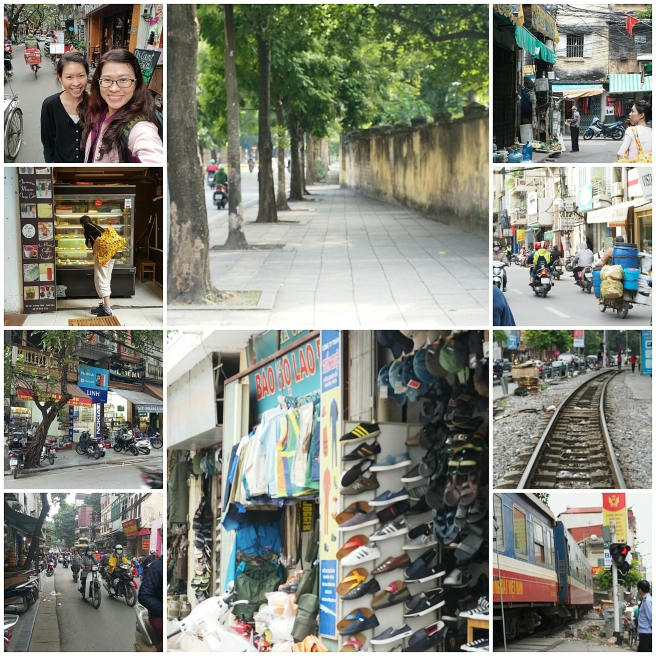
The first skill we arrived at Hanoi is not learning the language but to know how to cross THE street without getting knock into by the chainless oncoming vehicles from both directions. So, we had to look right left right and while doing that we slowly walked across the street as if we were part of them. Amazingly, we MADE it across safely. There is a system in the midst of a chaotic situation. But the honking from all directions was making me crazy. At the end of the 3rd day I was telling D that I miss home.
image

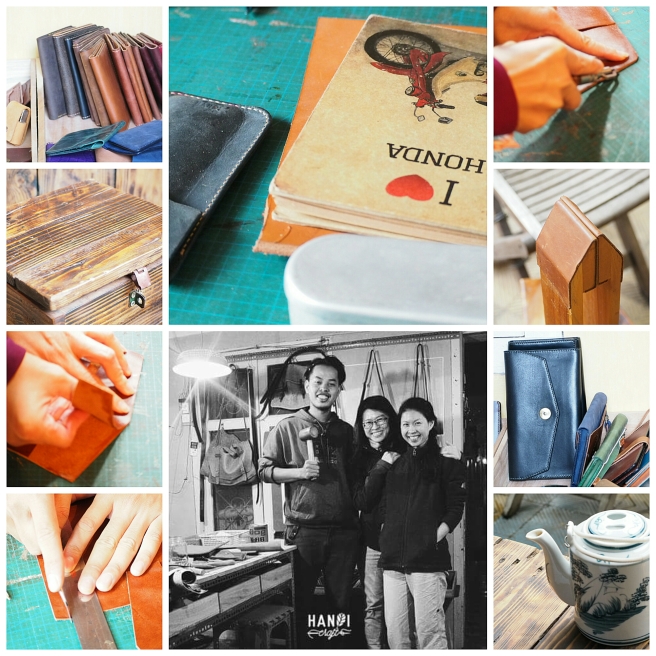
On the day we arrived, we went for a leather class conducted by Soi, at his home. Found his classes through backstreet academy and booking through the system was simple and easy. It is located along a small alley and initially we thought it was closed as it was locked by heavy metal gate (nah, it wasn’t).

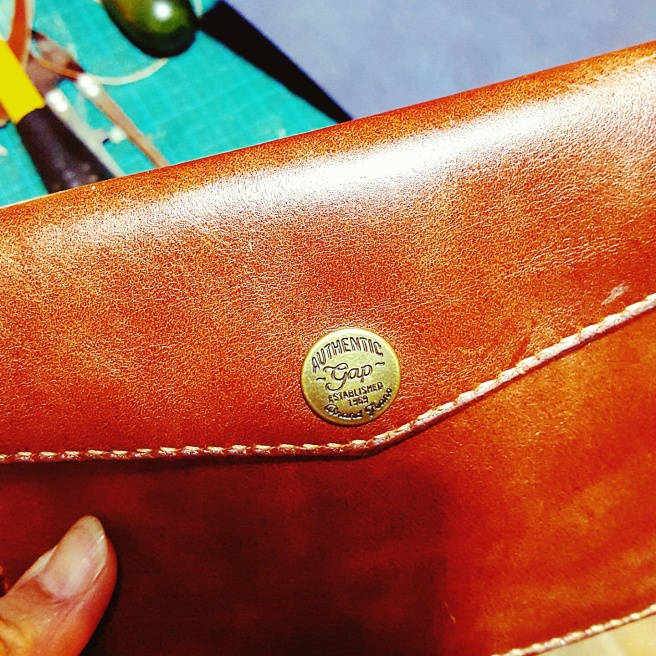
Soi’s knowledge of leather making is vast. His English is good and we were able to communicate with ease. I came back with a pouch made and a knowledge of know-how. Went with a purpose and came back knowing, that feeling is wonderful till now that I am reminiscing the time spent there. Am happy and thankful.
image

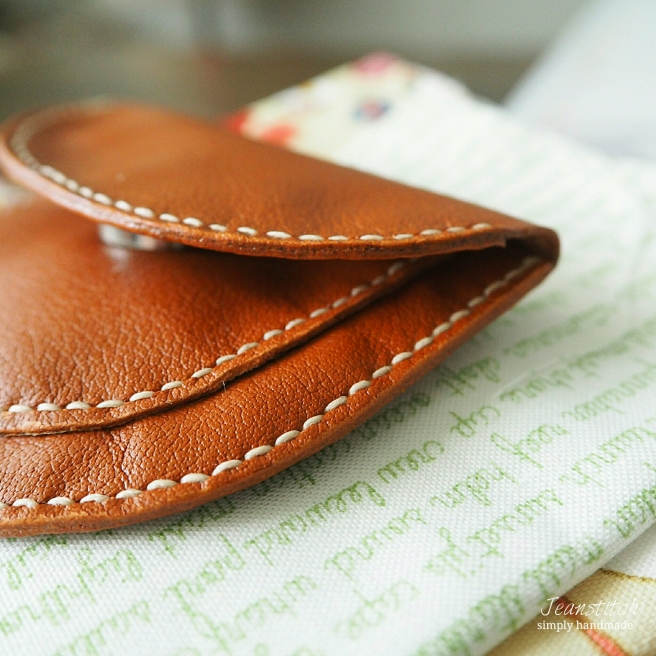
I practiced when I came back and ta-da! the small coin pouch I made and been using it to see if it can withstand my rough handling.
image

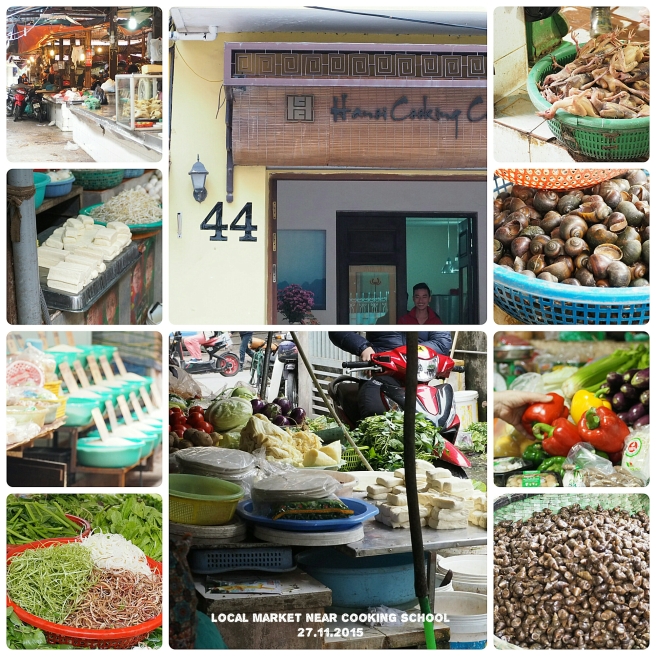
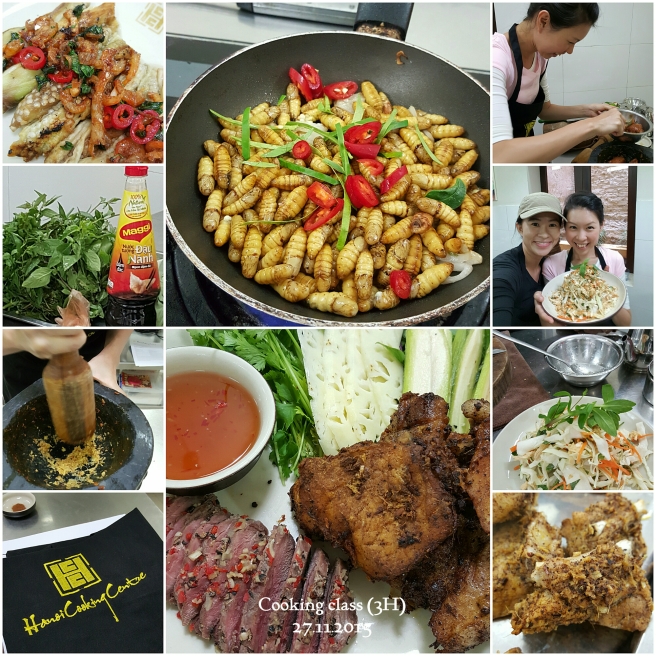
Everytime I travel out alone I love to learn how to cook the local dishes, the local culture, their wet market, what sort of ingredients they used and what’s special to them.
image

Cooking with Hanoi cooking centre was a good experience. We visited the local market nearby and was introduced to local products that the locals love to use. The fish sauce! The same as Thai, fish sauce is found in every home in Vietnam. The difference is that Thai fish sauce is saltier whereas the Vietnam fish sauce is sweeter.
image

One of the dish we learnt was how to cook silkworm!! Nah! That was not in the menu but the kind lady who brought us to the market bought some for us to try. Pardon me but I have no courage to eat these silkworm. D did and she was brave!!! We had our lunch with our course mates and spent the lunch hour chatting away.  We have a Korean chef in our midst, a Malaysian accompanying her husband and us!😊😊
image

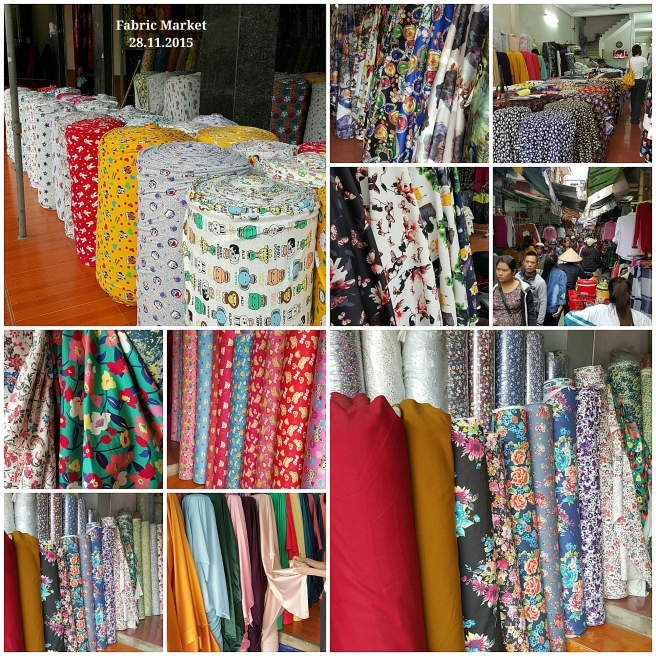
We did travelled to the fabric market by taxi which cost us about S$15 one way. Walked through the congested one way lane that became two ways traffic with shops at both sides, locals, motorcycles and some tourists. Nothing for me but D managed to get what she likes 😊

That night on the same day we left Hanoi to Lao Cai.
image

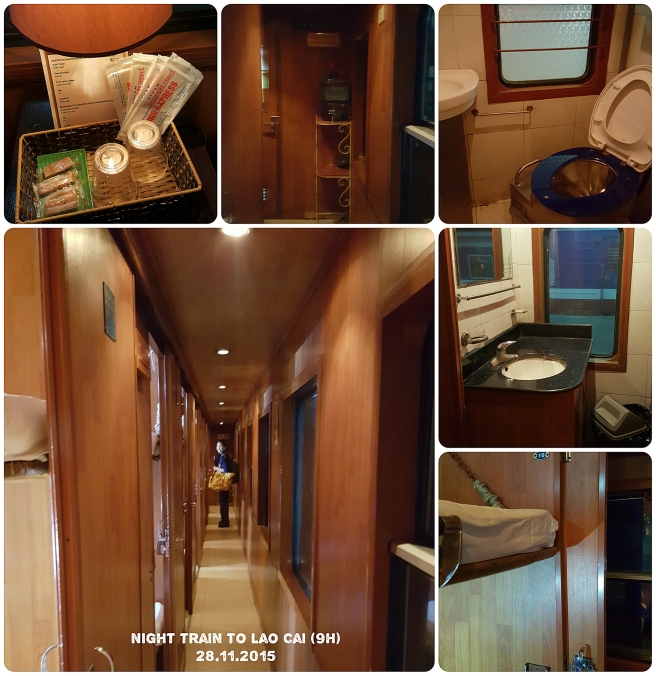
Took a night train with bunk beds and I must say it wasn’t a good sleep that night. Too bumpy and also some abrupt stops at some stations that kept me awake. Not much rest as I ought to have before the hike up the mountain.

A side note to self: It will be good to spend a day and have a good sleep at where the hiking place is so that your body is able to take the strenuous hike.
image

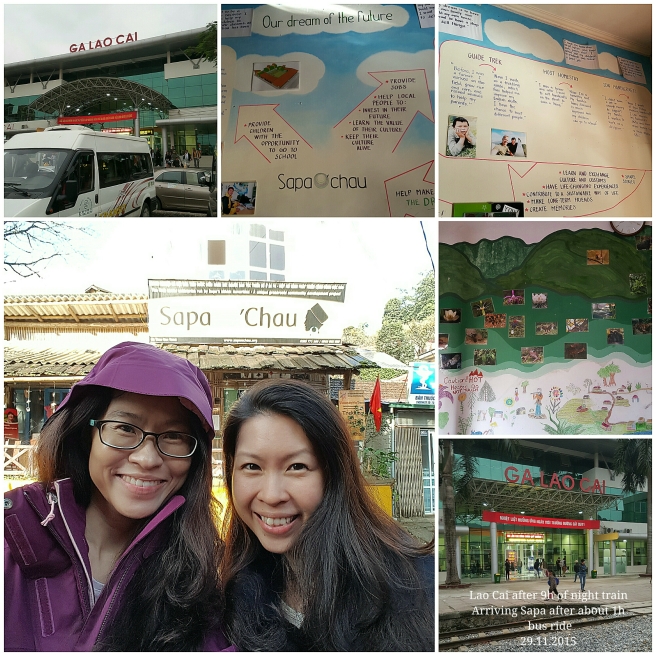
We arrived at Sapa after 9H and an hour of bus ride. The weather was quite cold at that time. Hungry plus not enough rest equal a tired body. We went with Sapa O’Chau which i highly recommend. Guide and porter were good. They supplied thermal sleeping bag which we truly appreciate as it kept us warm throughout the night at 2800m base camp. I was told by one of the member from the other group that their sleeping bags were the normal type which didn’t kept them warm.  Poor people! Imagine being in your wet clothes after 8 hours of hiking up. Although it was very cold but I am soaked with my perspiration and needed some dry clothes. The dry clothes and a good thermal sleeping bag kept me (us) warm.

Back to the time we took off. After breakfast, we took a short car ride and  reached the start of the hiking point at about 10am. Exciting!!! I was trying to recall how it was like hiking up Mount Kinabalu and this was totally different at some point. The only way up and down the mountain, no other different trails.

There isn’t a porter to help carry our backpack with our needs. That means what you are bringing up with you will have to be carried by yourself. We had one guide and one porter. Both of them were already carrying heavy stuff for us. Our food, plates, sauces, etc (to be cooked at rest points) and thermal sleeping bags. Their bag and a big basket were way more heavier than ours.

Pack the necessity (water 3L up and down), dry clothes, waterproof jacket, gloves, hiking poles (though there were times that I abandoned mine due to climbing on all four), headlight, snacks, camera?

A waterproof sleeve for the phone would be good to keep it dry (didnt think of that and missed those places I would love to take especially the cliff we climbed across. A Go-Pro maybe a better choice?

Remember to pack only the necessities, unless you are very fit, if not, you will be tired out with all the climb over big double steps, big boulders, ladders, climb on all four using gloves down and up over a cliff and the many steep slopes up (coming down was slightly easier but more dangerous). I almost gave up at one point going up due to the extreme tiredness that sets in (doubly tired due to unforseen matter). “Take deep, slow breath and walk”, I told myself. Am glad for the experience and learnt to be more resilient in difficult conditions.

There is a rest house at 2800m with no light (electricity not up yet), no heater but there are rooms with platform, toilets with icy cold water, the kitchen is away from the main sleeping area and it was so windy with door slamming most of the time if they were not close properly. It was pitched dark by 6pm. Without lights, we could only feel what’s in the room using our hands.. haha!  So, am thankful we brought our headlights.

We wanted to explore the kitchen outside the house, as there was a fireplace but the cold wind kept us inside. Howling winds all around and at one time I thought the house won’t survive the strong wind. Ha!
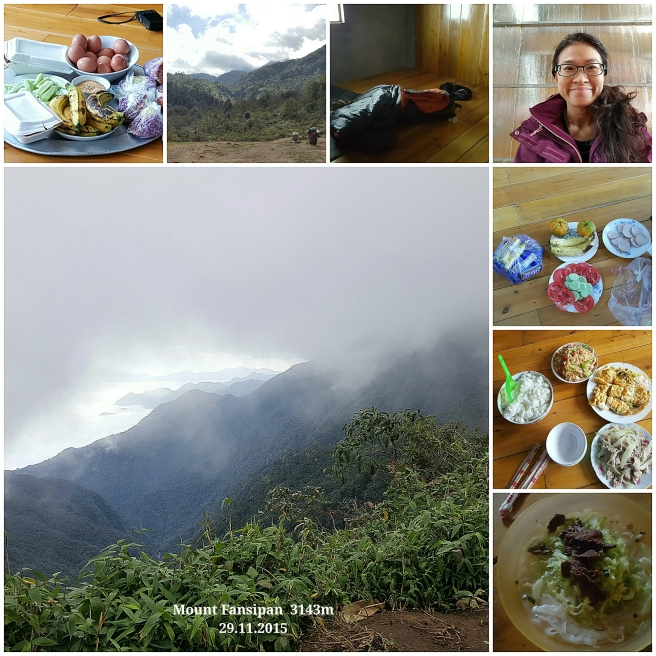
image

We didn’t get to summit the next morning as the way up was too steep and seeing how tired we were, we decided to go back down at 8am. After another 6 hours we were back to where we started. We hiked 38km in total.

Endure the toughness, persevere even when things turned out otherwise, beyond my imagination and overcoming it gave me a set of new experience, and a good company (who encourages when one gets too tired to move). Lots of prayers too!

And now let me end this by mentioning about the way back to Hanoi by train, we again took the bunk beds and this time, we slept through till it reached and stopped at Hanoi station. We were so tired that those bumpy movements or abrupt stops didn’t bother us (or rather me) 😜😃

❤❤❤

Waterproof Cardholder and a Keychain | Giveaway

Hello there! I know I haven’t been updating and is rather quiet lately. I’m a bit overwhelmed with some urgent projects. But the craving to sew is building up with the long list of wanting-to-try projects. So, in order to satisfy my sewing crave, I did a quick fix and dived into making a card holder using the waterproof fabric and stud from Japan bought a while ago .

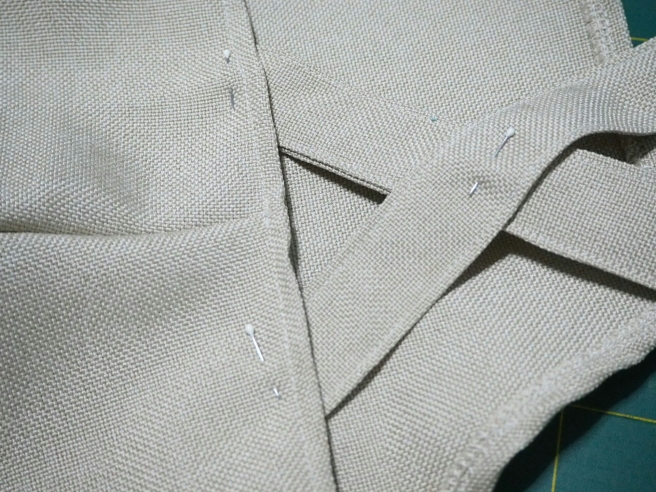
It isn’t the usual sewing I normally do because this doesn’t involve any sewing that means no threads, no using of sewing machine. I quite like the result of it. Simple and sweet. I think if this is done on leather, it will be equally lovely, the touch and feel will be different. More classic and modern.

image

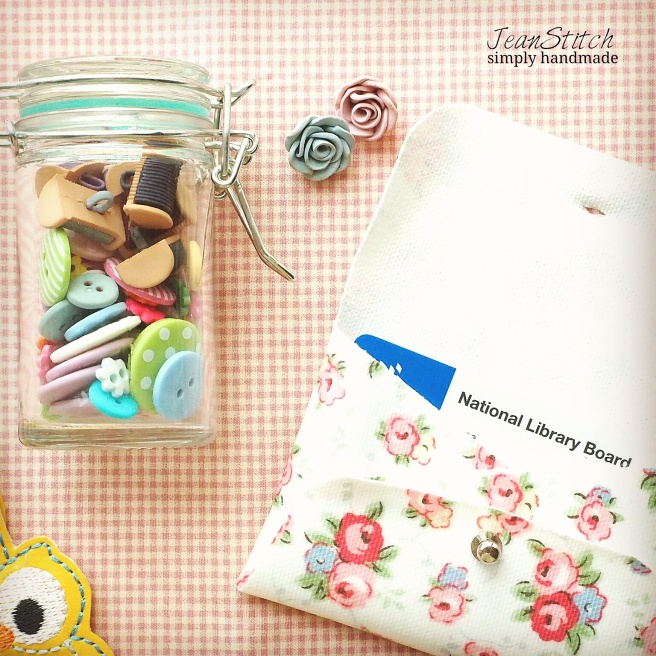
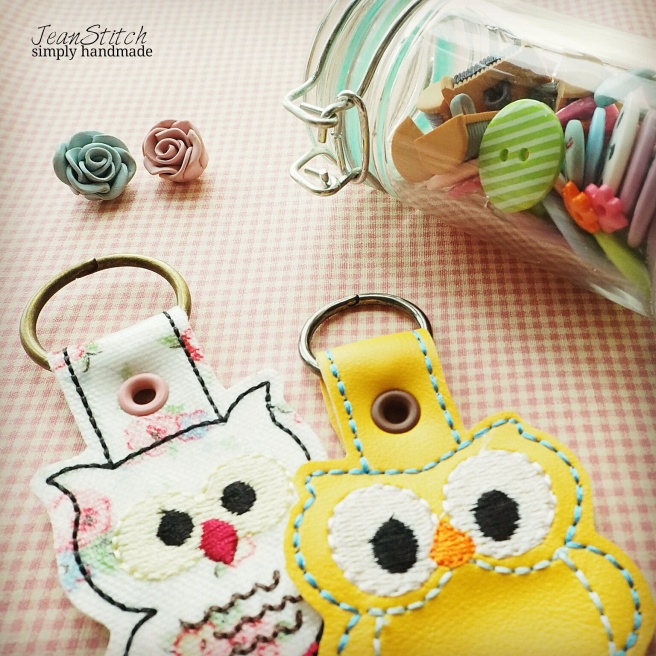
Early last week, I have been thinking of a giveaway to share what was made recently other than the cardholder, there’re owls too. So, here’s the giveaway of both handmade. (The bottle of buttons and clay flowers NOT included).

Simple steps:

1. Comment below on what handmade you are/or have been using most. For me, I am still lovingly using the card n coin pouch.

2. What do you like to do on a vacation? For me, I like to learn how to cook local food of the country I visit.

3. Share the post and tag me (if you can, if not it is alright, just comment below)
Facebook: http://www.facebook.com/jeanstitch
Instagram: @jeanstitch

☆ It’s open now till 26Sep for all – I will pick one participant at the end of the giveaway and will contact you for address ☆

image

Come and Have fun! ♡

♡♡♡

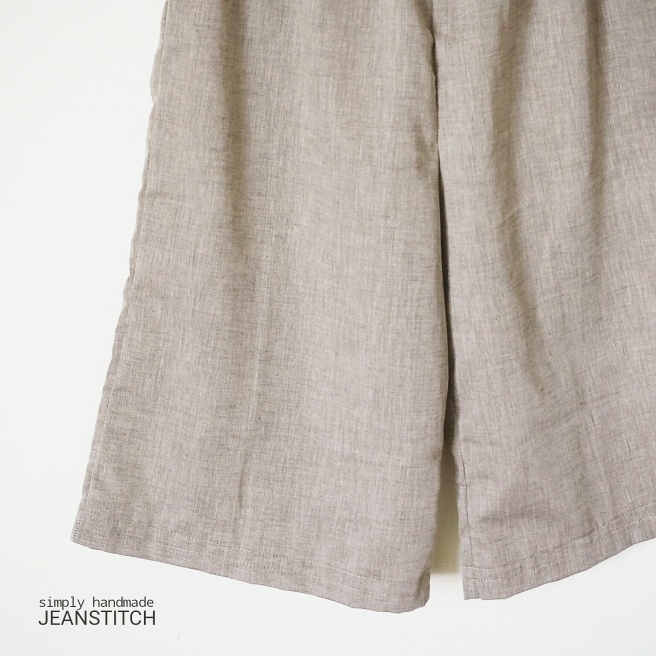
Broad Cropped Pants | A Simple Culottes

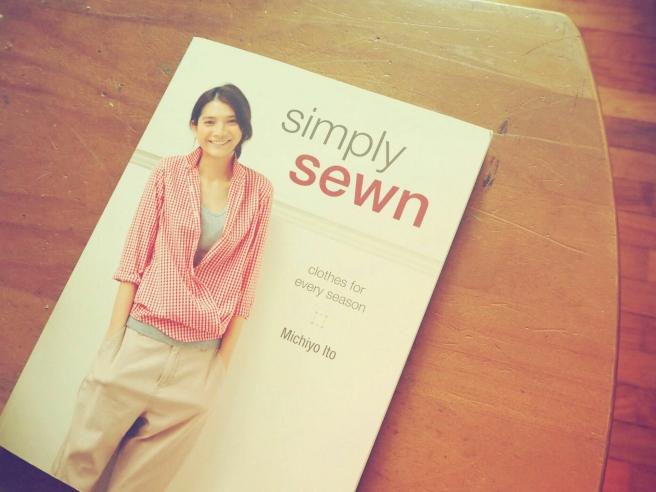
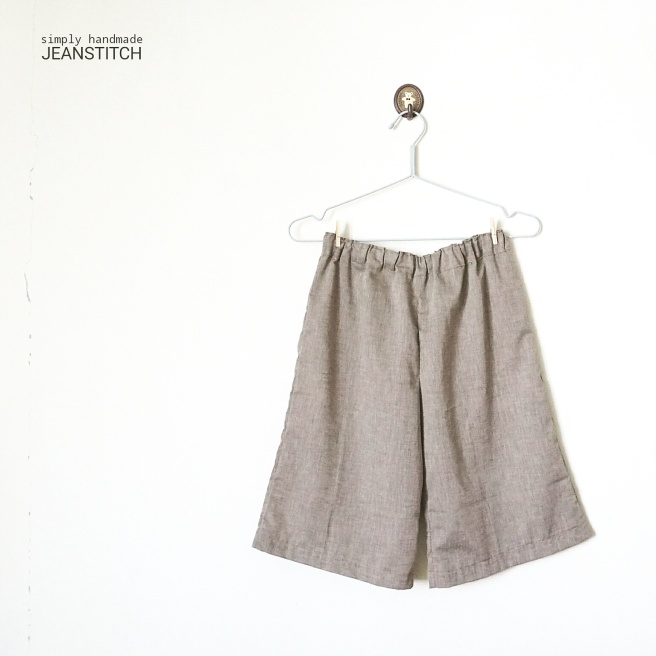
Recently, I sewn a culottes (broad cropped pants) by Michiyo Ito Simply Sewn. In fact, what attracted me to this book was mainly because of the loose fitting dresses by the Japanese designer and the simple sewing styles.

image

I had initially wanted to try the summer dress pattern but as I need a quick sewing fix, I went for the BROAD pants! I seldom make or wear pants alot. So, I was skeptical about it. About how it will turn out, will I wear it, will it be comfortable… (other random thoughts).

image

Shortened the pants to just slightly above the knees.

image

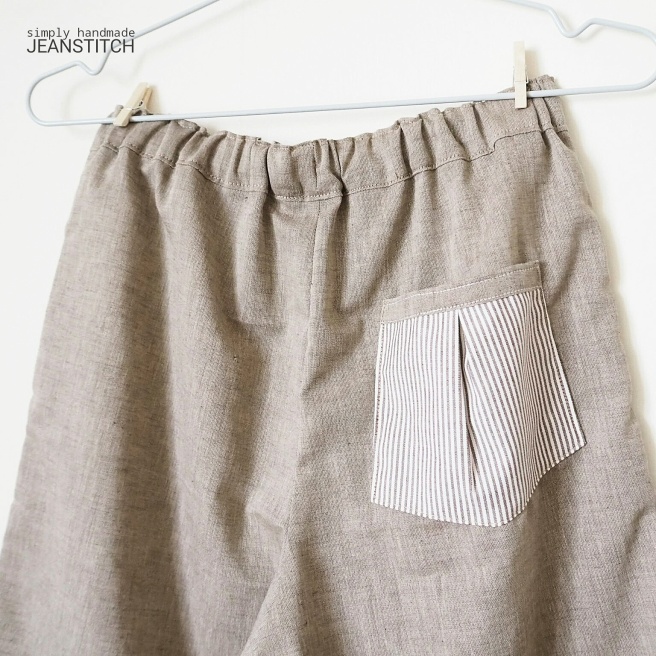
Instead of two pockets (two look a little boring) so, one with a different fabric will maybe makes it less boring (off the other pocket). That brown stripe fabric came into use (bought from Korea) ha! Now you know how much fabric I had bought but kept away 😨

image

So.

What’s the verdict?

I LOVE IT!!! 😍😍😍 Other than the fabric being slightly translucent (at the knees) due to its thinniess (my bad choice! Can’t be helped as I urgently – read: impatiently need to sew up something as I am soooo deprived of sewing lately), I absolutely adore this pants. The size for once using a Japanese pattern that I do not need to resize it too much to fit me. I used size S for this. Seam allowance 1/4″ and serged all sides.

I definitely will remake this pair of pants but first, I need thicker fabric, maybe a linen or a blended linen is good and (may) add side pockets too 🙂

Happy stitching, peeps! ♡

Patchwork | Cushion Covers

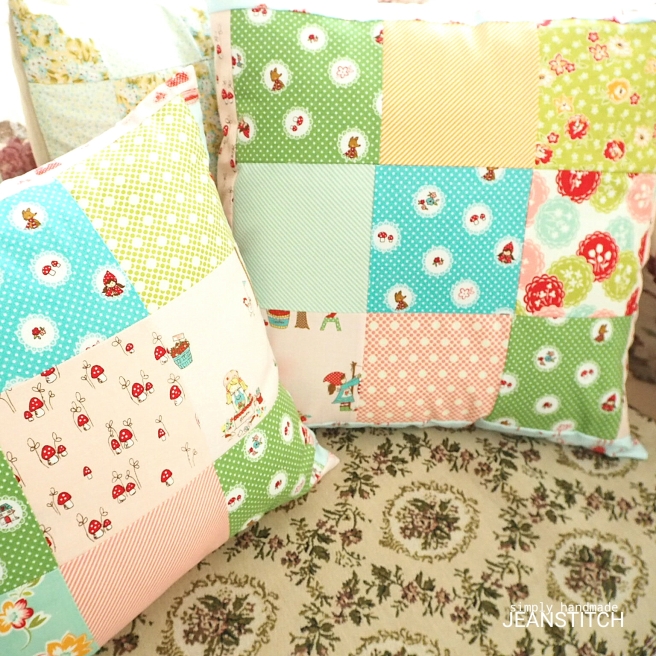
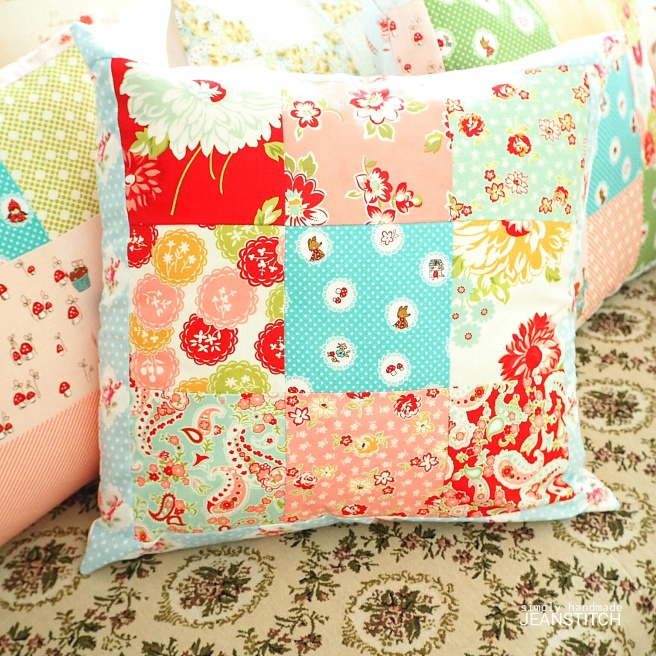
Hello! It has been a while. A long while  (in fact) that I’ve sewn a bigger project. I am lacking of time to sew or put the many projects I’ve in my mind to real work. Even with these cute cushion covers, it took me forever (it seems) to decide on which fabric to use, changed my mind along the way, aside it went, back and forth many days (or weeks).

I always remind myself when I buy new fabric that I need to immediately cut into them and use. DON’T keep them away because in the end, they will be left sitting inside the cupboard.  Sadly to say, it hasn’t quite work on me yet. Simply because I can’t bear to cut into them  (read: I am a hoarder) 😀

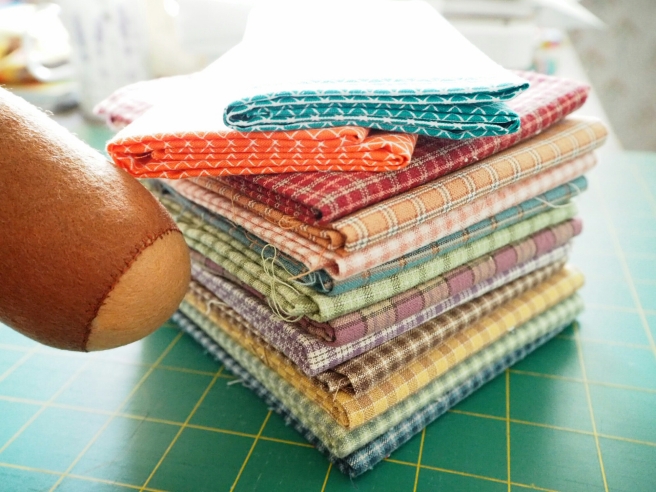
I’m just so glad that I finally did make something with these fabric and I absolutely love the color combination.

image

image

image

image

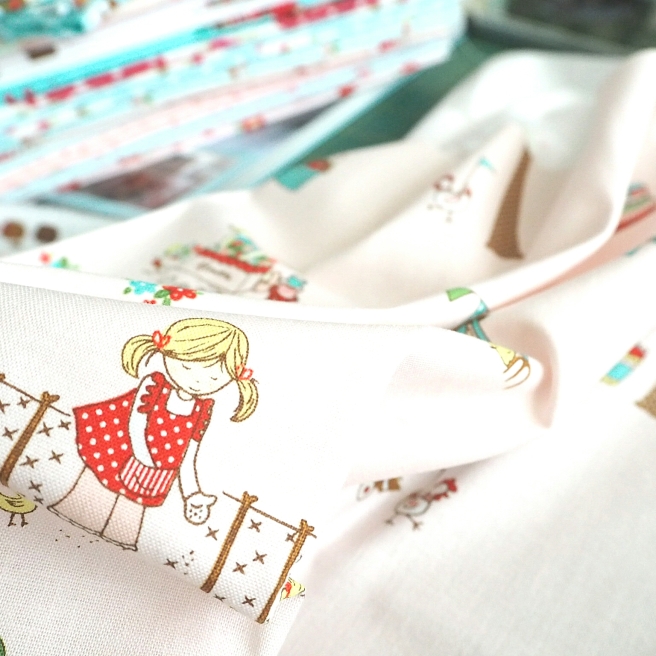
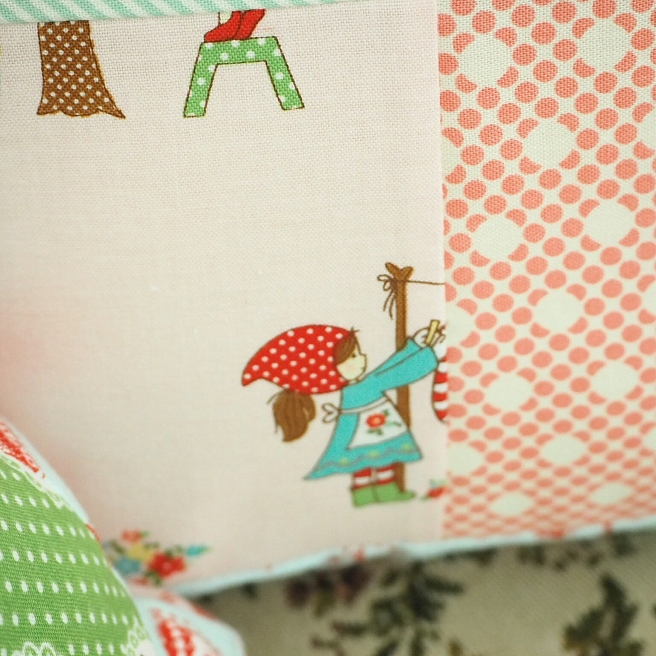
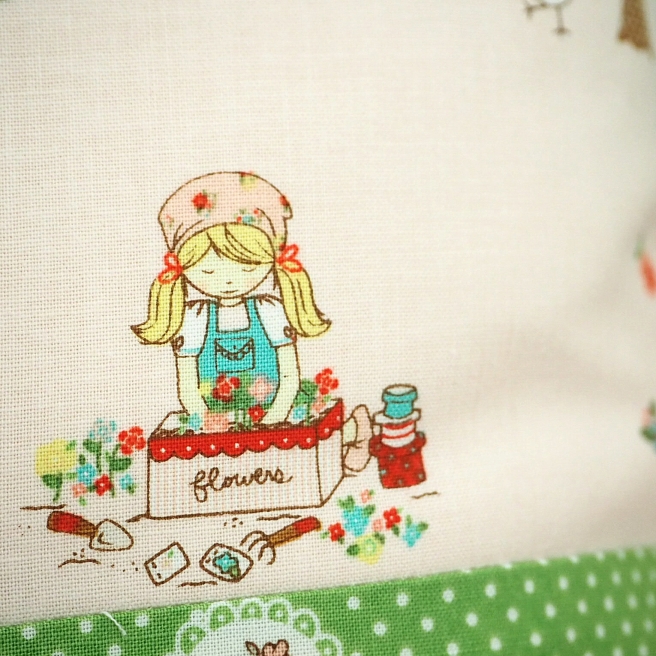
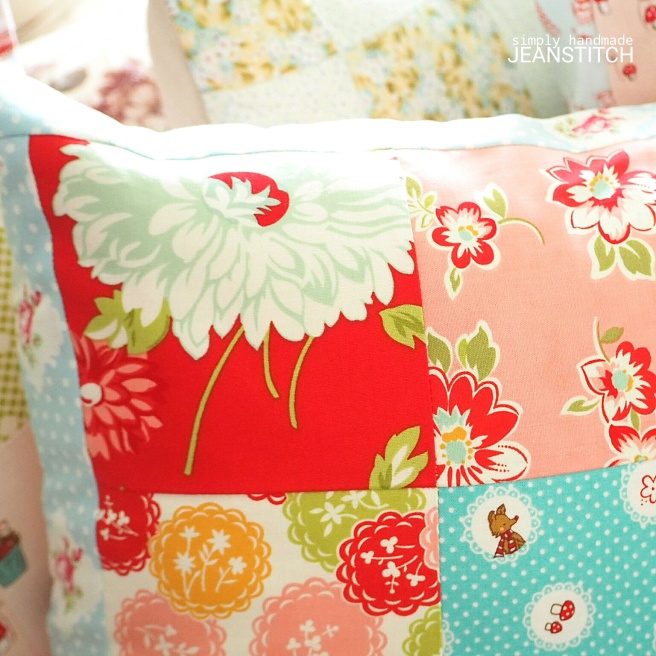
Such cute fabric print, isn’t it?

image

image

image

Fabric from Rileyblake mixed with Scrumptious charm pack. Left with a few squares from Scrumptious and I was half expecting it to be what I imagined them to be. But it was out of my original expectation when these were done. They are bright, cheery and lively (simply make my day brighter and put a smile on my face everytime I see them).

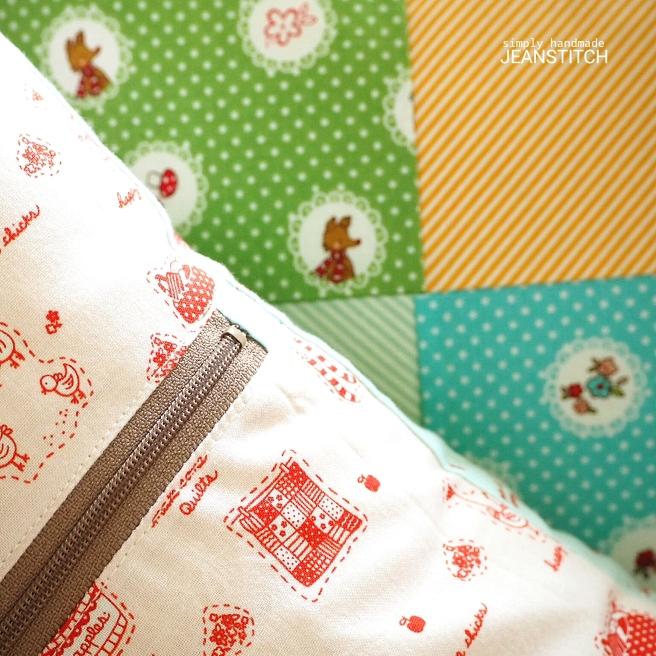
As for the closure, instead of using snap button, normal button, or zip on top (or bottom), I tried out a new method which I haven’t try before and that’s adding the zip in the middle of the cushion cover (something different). It’s my favourite method of sewing up a cushion cover now. Neat and tidy. No unexpected opening while hugging it.

image

image

Yea I love love love floral very much and thus, will make one cushion cover in floral (at least) 🙂

It has been rather hot lately making me sleepy and with tension headache, it certainly is not a good feeling.

Have a wonderful week! ~ jean.

The block pattern dresses

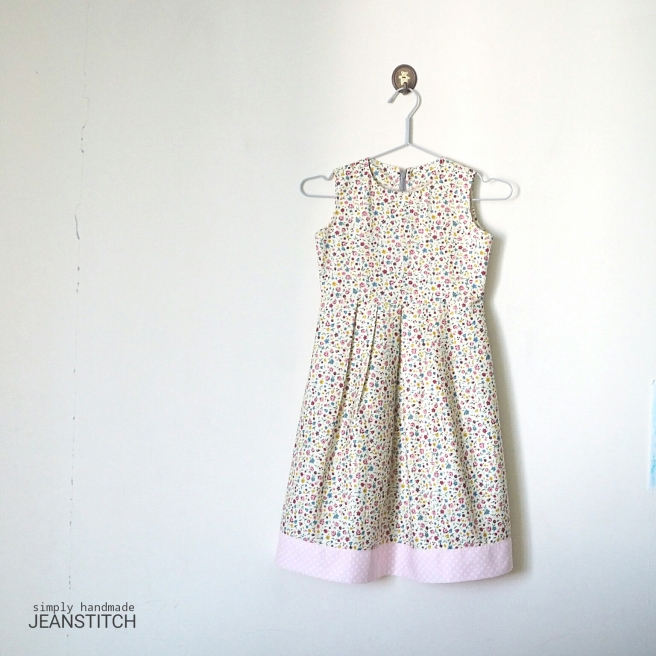
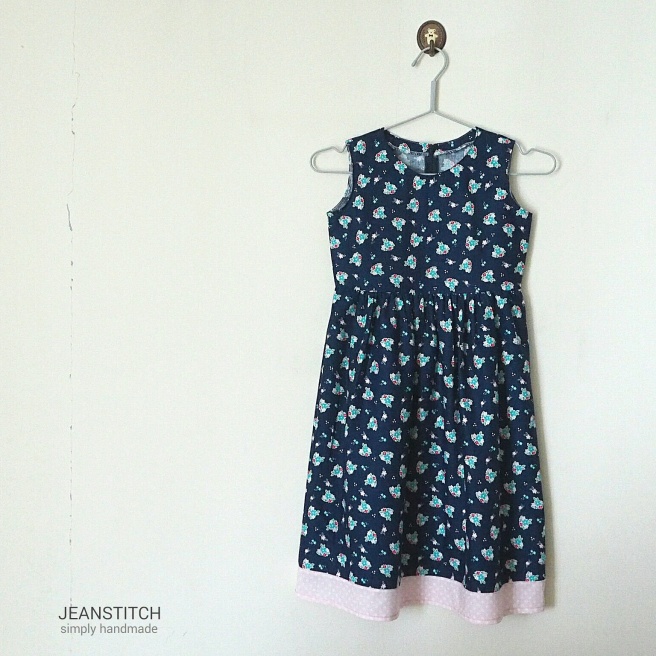
Another new dress made recently for G. She was (still is) delighted. I am happy that she is. But she is doubly happy than me.

Why? You wonder.

Because these dresses, unlike the rest, are without back ties and it won’t caused any discomfort to her back when she leaned back 🙂

image

image

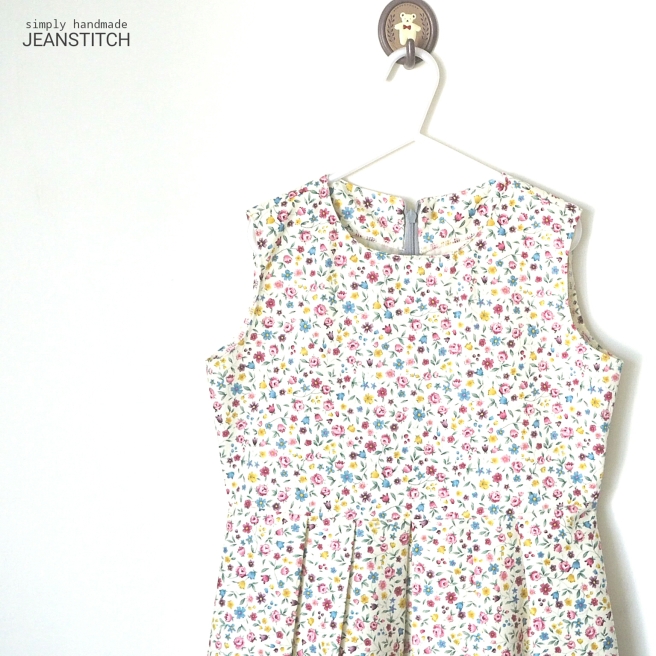
I love block pattern because it gave that perfect fitting. A little boring (i must say) as it is almost the same so the recent dress (above), for the skirt portion, it is pleated instead of gathers.

Having said that, I want to try out new design with drafted block pattern. How lovely it would be to see different styles but I am the easy and practical person who what fits me and I like it, I don’t mind the same pattern for many pieces (boring me! Haha).

image

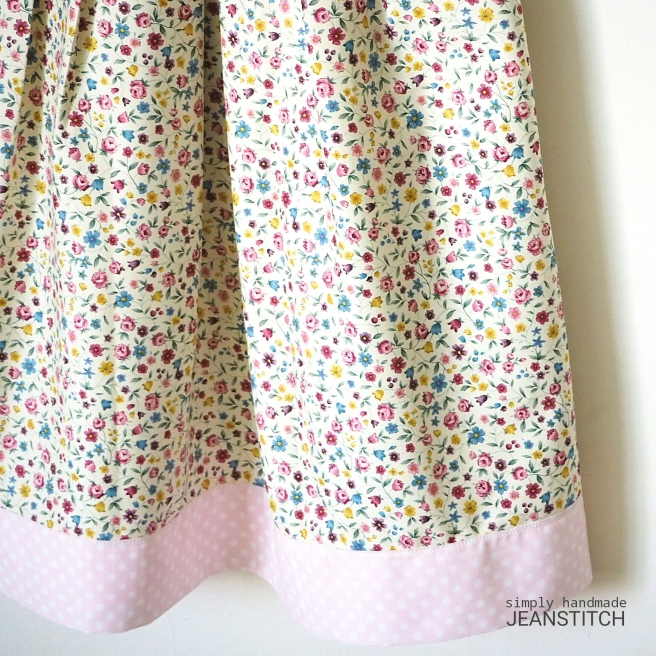
This fabric made in japan was bought from Taiwan fabric market 100% (thicker) cotton. She likes the pink polka dots fabric just like her previous second dress so it was added to the above Spring (named by me) floral dress 😉

image

I equally love this rileyblake fabric for moda. I didn’t have a second thought when I saw this and picked it up almost immediately. The only regret, it was just 1.5 yards left.

image

Ta-da! The very first block pattern dress (after making few dresses from pattern books) on a liberty fabric bought from Korea. Yes, that was about 3 years ago.

I remember how happy I was (still is) when the back bodice aligned side by side after a few tries to get it right.

There were many times that I had to rip off the seam (with the zip attached) using the seam ripper. Honestly speaking, I was very reluctant to do so because it was alot of thread to remove. But I can’t get pass the uneven bodice alignment thus here comes the seam ripper and off the threads.

It has became my very best friend since I learnt how to sew. Found a method which I had tested a few times while sewing dresses of how to align it proper when attaching the zip. It works!!! (I am a happy girl!) **Will talk more of that next time when I sew a dress again with pictures.

In conclusion, for pattern from books or online download, I need to resize it to fit whereas drafting a block pattern usually fit well (quite fascinating to me when I first drafted and it fitted well). However, it won’t stop me from trying out other online pattern as it is always good to improve one’s skill through resizing made to perfect fit.

Happy stitching, sewist friends! ♡

Making Good: Mending a Bear

image

I participated in a Repair Blog Train hosted by Green Issues by Agy.

image

What is it about?

Mending, Repairing or Making Good of household items or any handmade through various means depending on what you need to mend.

As compared to my grandma’s time, these days not many people would want to repair stuff that is damaged or spoilt due to wear and tear as everything is within reach. It can range from big item like furniture to the smallest personal stuff such as jewelry (I am guilty as well). It may sound daunting or hard to do as not everyone has the mean (tools and space) to repair certain items. So, if something was spoilt, torn and old, what do we do? Throw it? Fix it? Or leave it (in the storeroom)?

However, I am sure that everyone will have something precious which you won’t bear to trash.

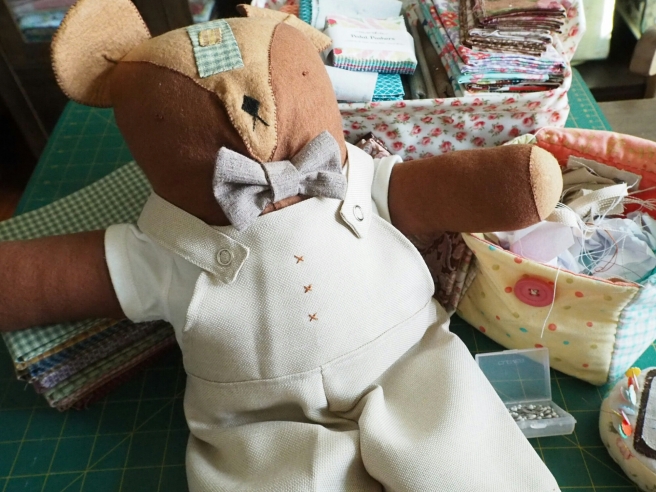
A friend has a bear which she kept for about 30 years or more – vintage! It is also very dear to her because it was made for her by her aunt when she was a baby then.

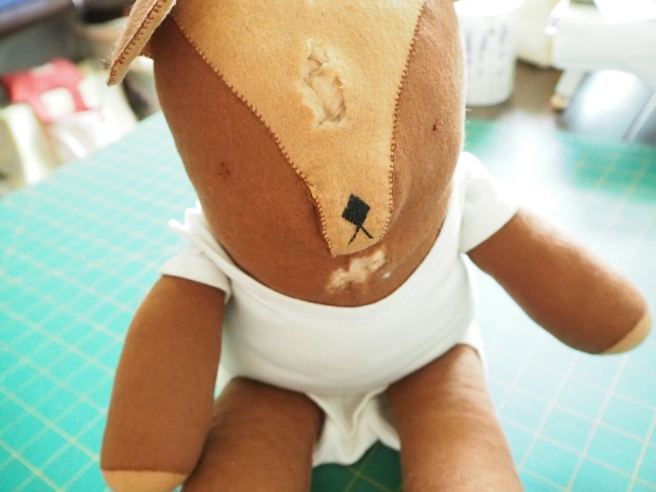
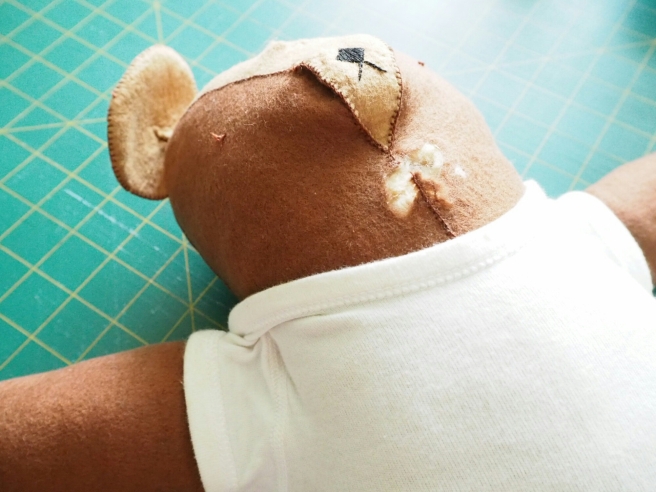
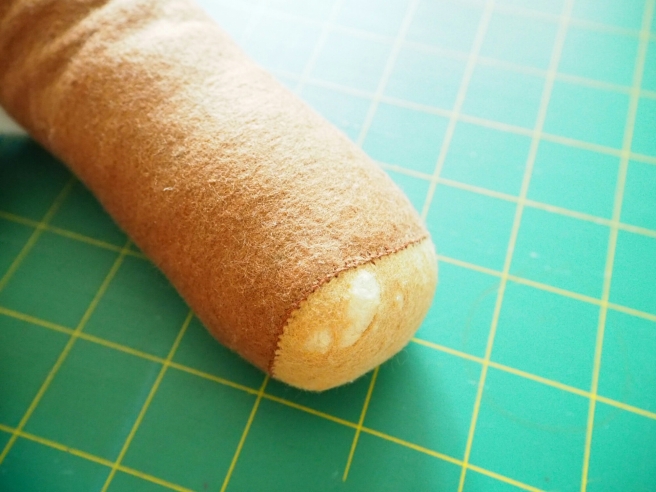
Due to many years of being kept away and slowly the felt gave way and sign of wear and tear appeared. It is very sad to just dump it because of the fond memories she has had.

image

image

image

image

So, when she approached me to see if her bear can be fixed. I said, “Yes, why not?”

I had some rough ideas what to do but didn’t realized that some parts of the bear were difficult to fix. It isn’t as easy as I thought it would be.

Why?

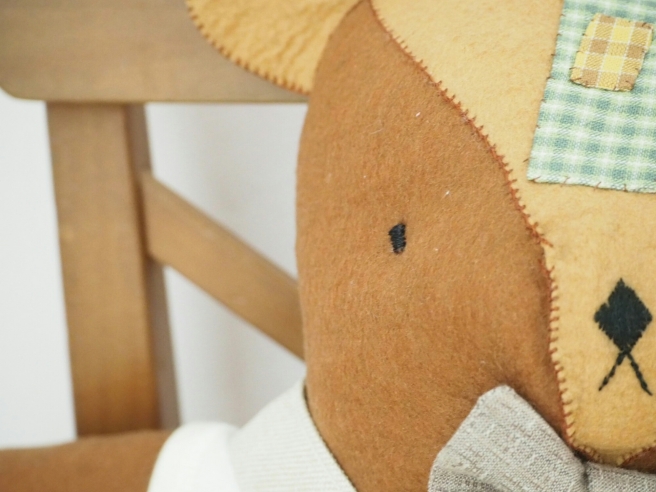
Because the felt was giving way, a gentle tug here and there will give a new tear. I began with the head as it looked less daunting. In fact, the minute I saw the bear, handiplast came to mind so I attempted that. Sounds easy, right? :):) I went on, put a stop, change fabric, redo the stitches and eventually the plaster was done. Haha! Hope it looked like a plaster as I didn’t want the bear to look like he has a big scar stitch on its forehead 😉

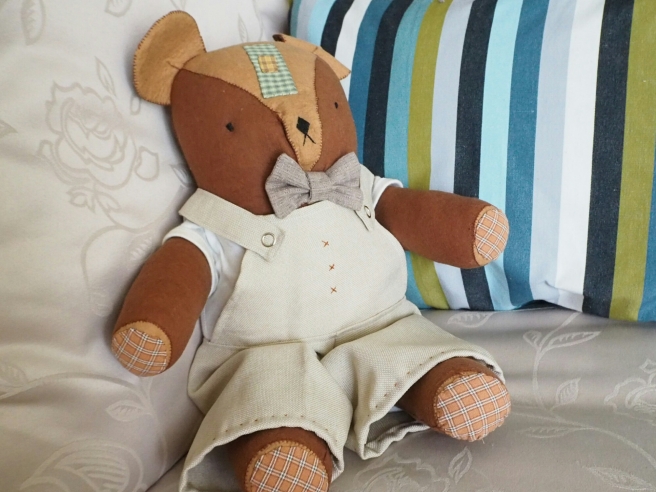
Next, the big hole at the neck needed to be fixed. But what do I do? It’s big and quite ugly to just sew it up. Pondered over lunch and decided to make a bow to cover up the hole.

But.

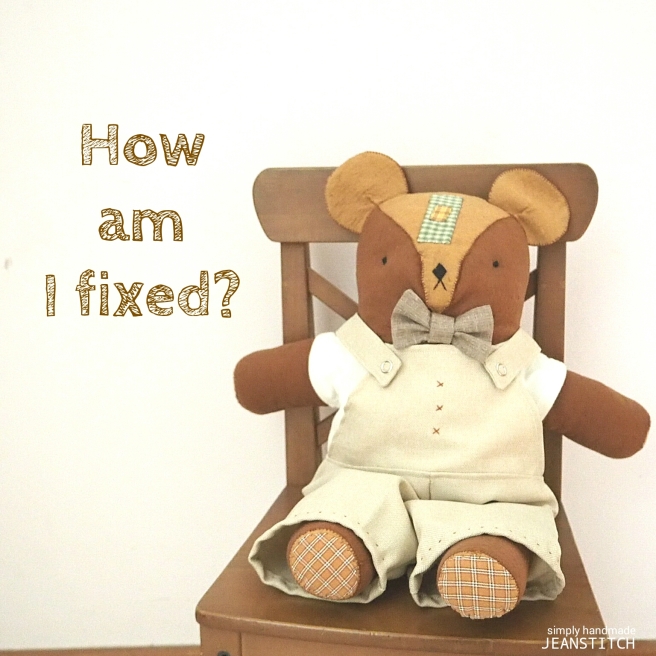
Something is missing. The bear was out of place. The attire doesn’t seemed right. He needed a suit! But it will take me a while to make him a proper suit so a dungarees (aka jumpers) was chosen to go over the white baby singlet.

image

image

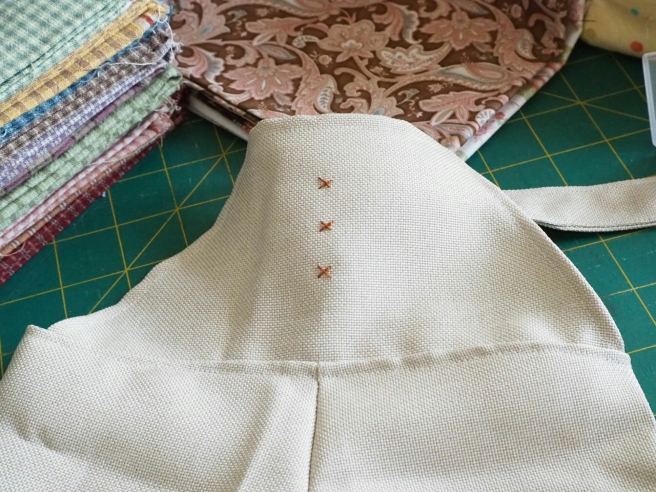
Using brown embroidery floss (3 strands), 3 ‘X’ were sewn on the front of this dungarees (jumpers) as embellishment.

image

image

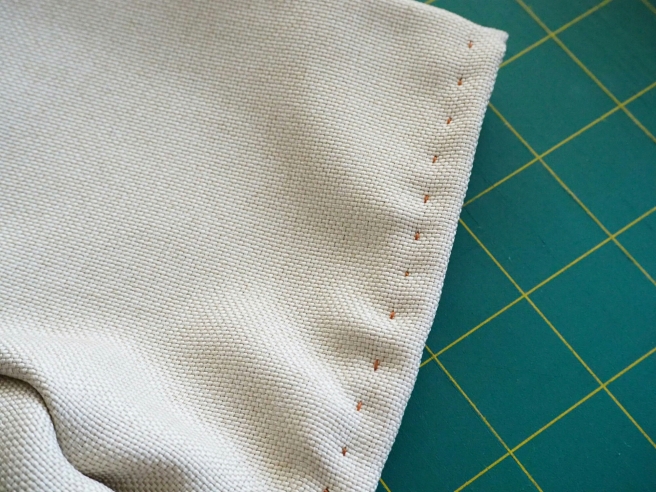
Likewise, the same brown embroidery floss (3 strands) was used to add as embellishment to the hem of the dungarees. Love the effect! It made the dungarees less boring, isn’t it?:)

image

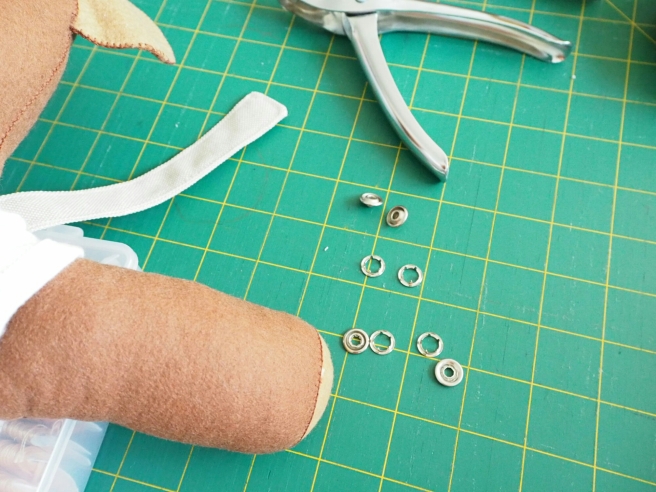
These are metal snap buttons. I love to use these in my handmade for bags or small purses and really easy to use. This time, I used them to fasten the dungarees’ straps.

image“How is it? How is it?” asked the anxious me.

I am not done yet. The bear needed a full makeover.
image

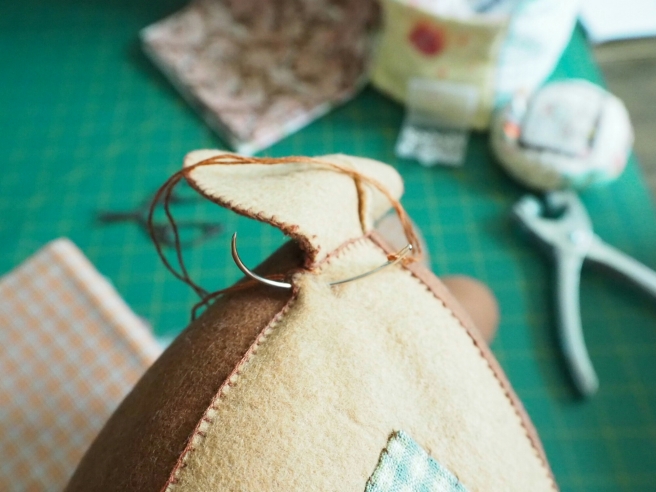
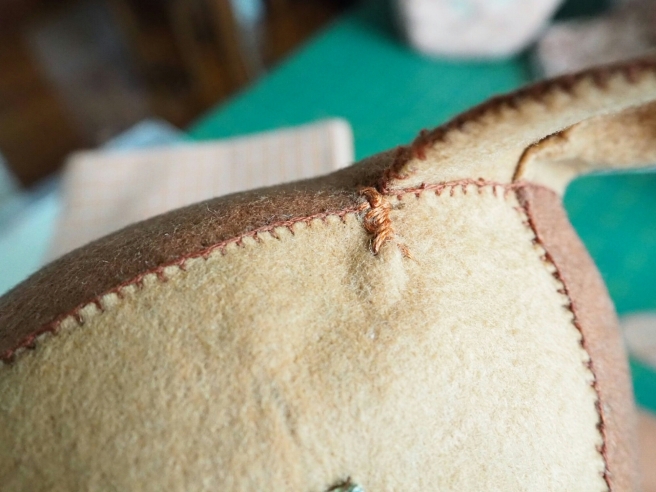
There was a slight tear at the ear so I used a curve needle to fix it using the embroidery method.
image

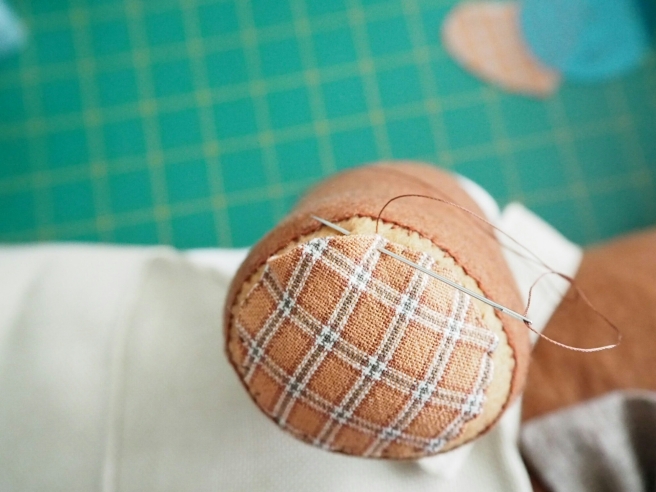
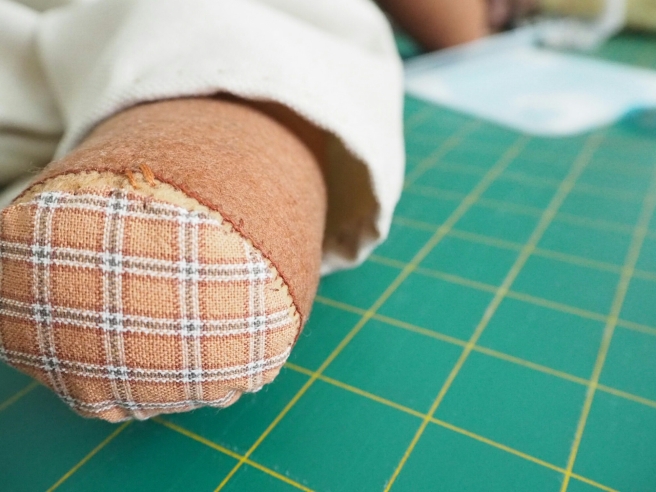
The hands and legs had some tiny tears and seemed impossible to sew up without making the other tears bigger so I cut up 4 rounds shape using quilted cotton and patched it over.

image

image

Ta-da!!!! The bear is fixed! I am very happy to see it done. Would I do it again if it needed another fix? YES!!!! Though I faced some problems mostly due to how or what methods to use to fix it, I enjoyed tremendously in all form of stitching and the satisfaction I get is wonderful. I am also glad that the dungarees fit (okay, slightly longer than planned but that’s alright, I hope) 🙂

image

Oh oh! Eyes of the bear were touched up too 🙂

image

Thanks Agy for the invitation and I truly enjoyed reading posts from other bloggers of what they had done to making good of their items.

The next blogger to be part of this “Making Good” blog train is Maya of The Little Treasures. Do hop over to read her post tomorrow 🙂

*************

This post is part of a blog train hosted by Agatha from Green Issues by Agy on “Making Good”.

What is repair, and why do we even bother to repair the things we have? Some see repair as a way of reconnecting with our possessions as we extend their lives. Others see it as a form of creative potential and an avenue to express their craft. The rewards for mending varies from feeling immense satisfaction to prolonging the life of the product.

Follow the “Making Good” blog train this month and see what we have repaired and reconnected with. Have you mended anything today?

Mount Kinabalu

03 April 2015:

Time flies and it has been about 46 days after we came back from Mount Kinabalu. We started planning for the trip last September and has been looking forward to that day. It came and went.

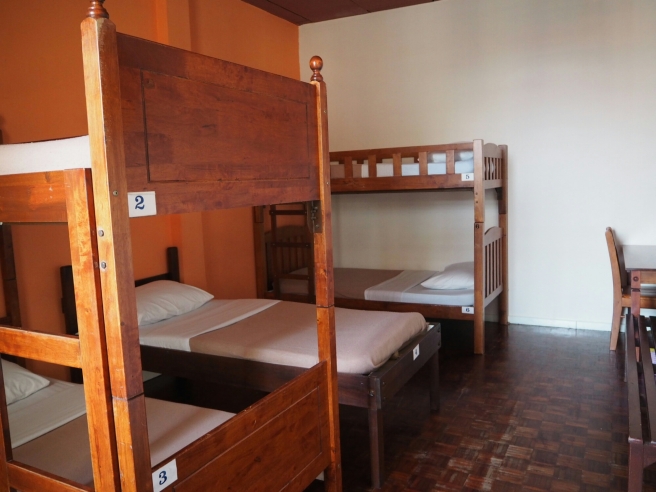
When we were at Sabah, we stayed at Lavendar Lodge and chosen the dormitory for our 3nights there. It was a good experience staying together with my sisters and their friends (now became mine too).

image

image

image

image

image

image

image

We had our breakfast that morning before we departed to the base HQ of Mount Kinabalu.

image

image

And that’s Jenny in the middle who took good care of us. It was a pleasant stay. Thank you 🙂

image

image

image

While on our way there, we stopped by some fruit stalls and what do we do when there are good scenery around. We walked around, took photos and bought fruits.

image

image

image

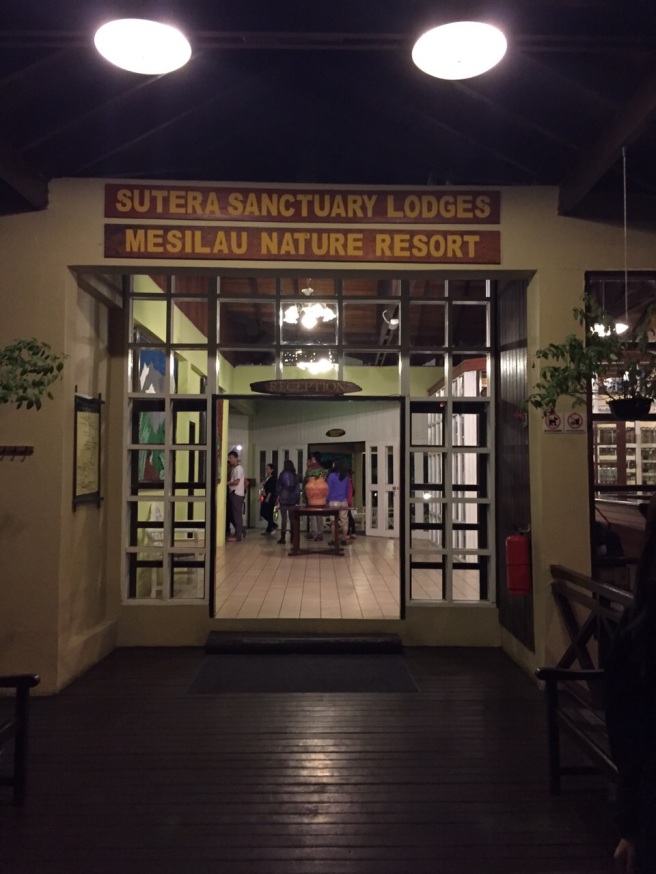
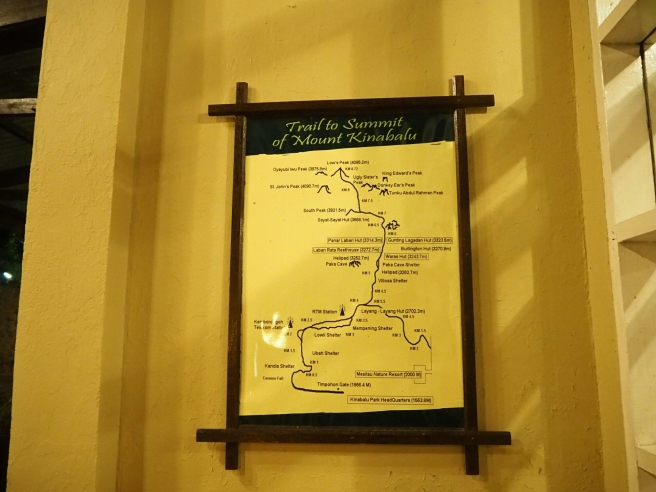
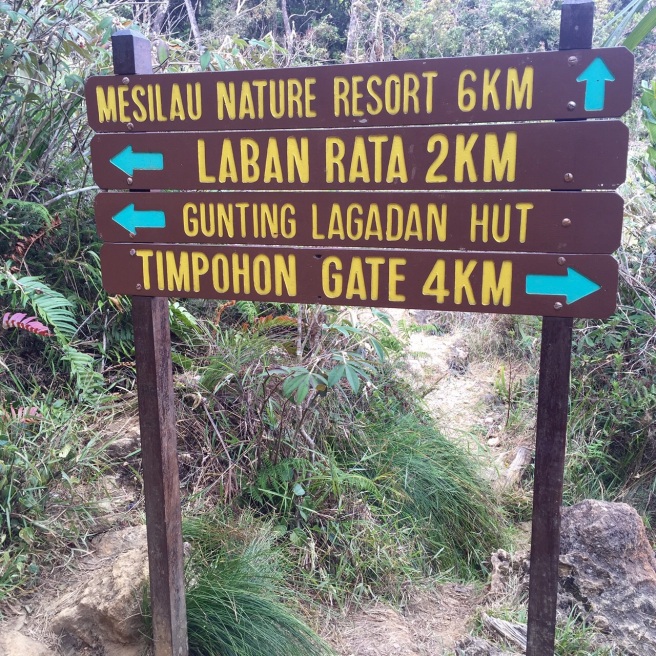
The plan was to take Mersilau Trail to Laban Rata so we rested a night at Mersilau Nature Resort and the place was simply beautiful!

image

image

image

image

Our simple dinner at Mersilau. It was yummilicious! (Ha! Is there such as word?) It was really yummy!

04 April 2015:

image

image

image

image

image

image

image

Everyone paid attention to what our guide has to say before we begin our long journey up and were in high spirit and excitement.

image

And so, we started our climb at 8.30am via Mersilau Trail 8km to Laban Rata.

image

image

Along the way, there are shelters for hikers to rest, eat and catch up with one another. There are toilets too but do not expect a clean toilet as it is fully utilised by everyone thus be prepared for the extra fragrance (bearable if you can hold your breath for a few seconds).

image

image

image

That’s the helipad we stood on for emergency evacuation.

image

Half way mark! And we were still surviving 🙂 I enjoyed the small talks we had as we walked pass other hikers saying hi, cheering one another on, watching over one another’s back was simply wonderful.

image

image

The junction that many look forward to because that means we were left with 2km to Laban Rata (the rest house)!

image

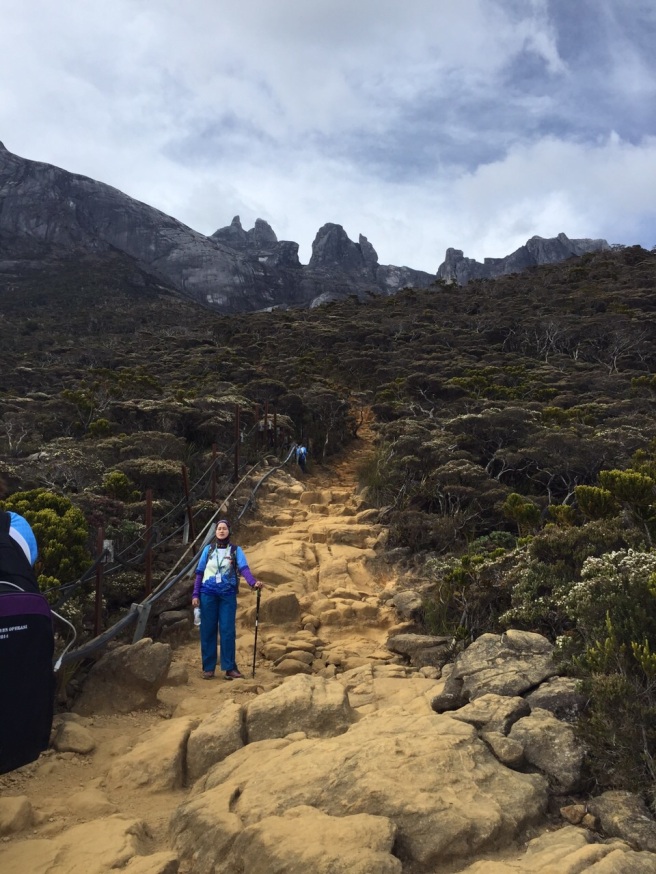
The last 2km seemed long, unreachable and we were hungry 😀 Our batteries were running low by now and our goal then was to just reach the rest house.

image

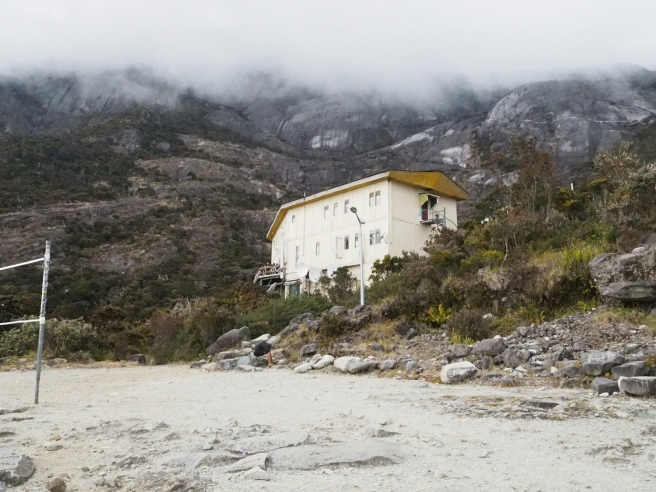
We saw it!!! The house. Wow!

image

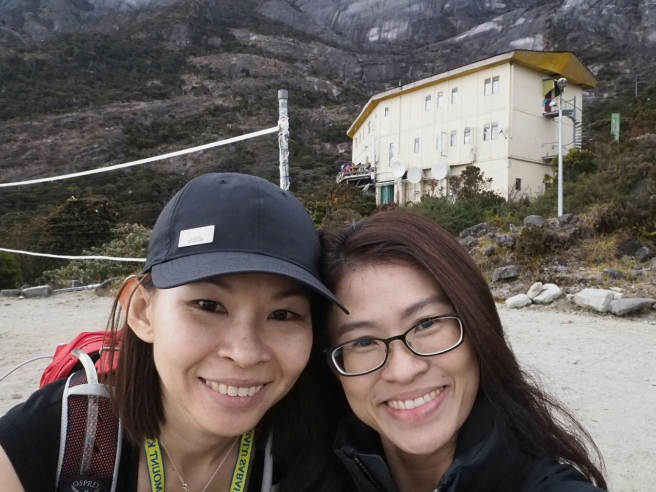
FINALLY! We arrived at this place where there were hot piping food (only till 6.30pm) so upon arriving at 5.30pm (9hrs) we hurried into the house to get food for ourselves (and others too) and rested our tired legs. (Yein, we made it till this far 3,270m). Imagined our joy! Can you? 🙂

image

image

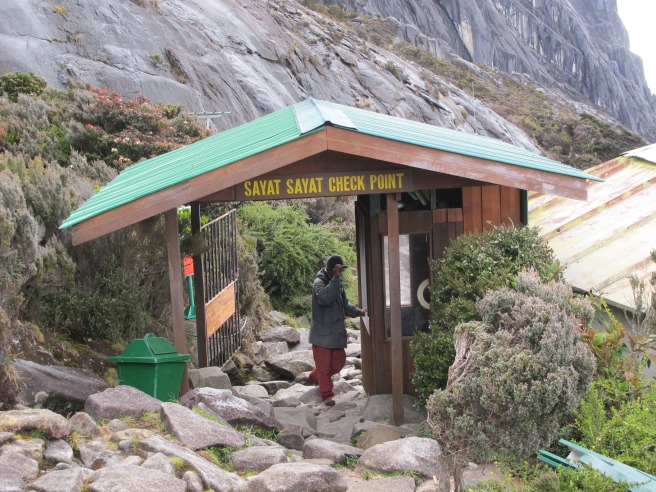
After this food pic, I didn’t take any pics and retreated to upstairs to change and sleep as we need to leave for the summit at 2.30am (5Apr), another 2km hike which will take about 2-4hrs to see sunrise but it rain while we were hiking up and the farthest that I reached to was at Sayat Sayat.

It was cold, and gloves were wet while doing the rope climb and camera/phone in the bag and too cold to take them out to take pictures. I saw waterfall at Sayat Sayat!  Water that gushed down like waterfall from Summit Low Peak. Those who went ahead before us caught in heavy rain and was drenched. Well, we were wet too at the checkpoint. People who planned to do ferrata had to cancel their adventure climb down as it was too dangerous.

image

Photo credit: I took this pic from the Internet. That’s the checkpoint at 3,700m. Another 400m to the Summit Low Peak. One of my sisters made it!!! *proud of her*

image

image

Photo credit : From my youngest sister who took on 4Apr 🙂

05 April 2015 :

We descended from the Sayat Sayat back to Laban Rata around 7am (I think) since we can’t go up due to rain and we need to check out by 10.30am. It was too cold and all we did was to look for hut to go into to stay warm and I need to pee. Oh no!! 😨 No toilet. So how?!!! I told myself to start moving = descend to Laban Rata eventhough we were all reluctant to get out of the warm hut with hot water.

image

These guides are experienced and good. They went up and down effortlessly even in the rain. Nothing seems to stop them. They don’t use the rope like we do for safety. Hold the rope too tight, we can barely move and will slip off due to wrong footing. Most importantly, they (the guides) took good care of everyone on the mountain and brought everyone down safely.

I came to realise that to climb using this be it in the rain or not, we need the right posture and footsteps. Otherwise, you will be hanging onto your dear life. But I feel that, if it wasn’t raining, it will be better as confidence and visual levels were up.

Having theory in the head and not putting it into good use is useless and make one more scare of slipping off. I had my fair share of fear yet looking forward to another one now after a kind guide shown me how to manage my way down. Am thankful to him.

We descended via Timpohon Trail 6km in total from Laban Rata. Along the way down, I didn’t take any pictures. Apart from nothing much as compared to the more scenic Mersilau Trail, I was trying to reserve my energy on my way down as I didn’t really sleep or rest well since we reached Laban Rata. Though we had a few hours to rest before the climb to summit, most of us barely slept but still full of energy. 😀

Many steps down and also more flat ground compared to Mersilau which has more big boulders and steeper steps up and down.

image

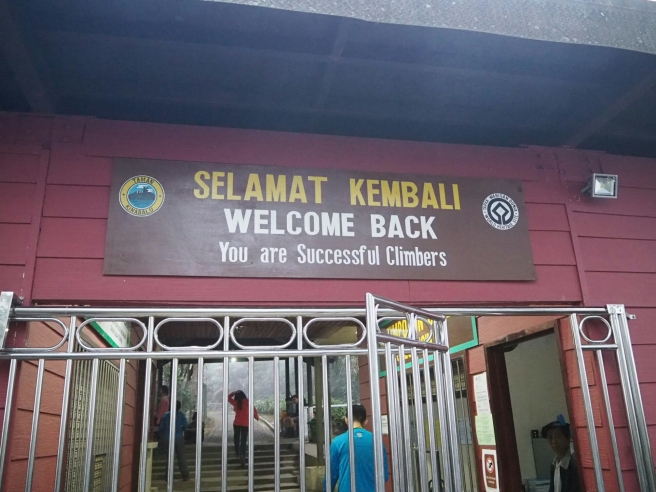
“Welcome back!” Yay!

I was too happy to see this signboard after 6hrs (or 7hrs) of hike.

Overall, I truly enjoyed the trip. It was challenging toward the end up to the summit and a pity that I didn’t attempt to climb up due to rain, nonetheless, it was a trip which I will remember as it was my first adventure trip with my sisters. The sweet memories remain.

Am thankful for the time spent together.

How about another one next year? :):):)

Bye now! ♡

Roasted Chicken

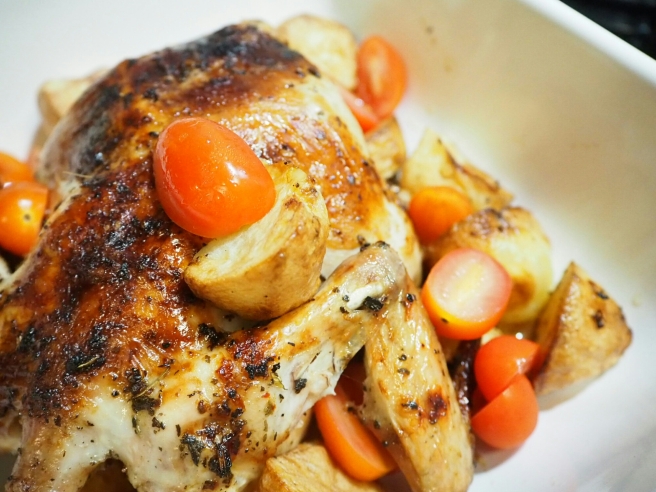
Roasted a whole chicken marinated with dried herbs – oregano basil and tomato spice blend yesterday.

image

image

image

Ingredients:
Small size whole chicken
6 big potatoes cut into half
Cherry tomatoes
Lemon
Himalayan salt
Peppercorn
Oregano basil and tomato spice blend (bought from local supermarket, dried herbs and spice in a glass bottle from The Gourmet Collection)

1. Wash chicken. Remove head, neck and legs
2. Place the chicken in a big bowl, rub himalayan salt, followed by peppercorn and spice blend
3. Squeeze half lemon and leave for 1-2hrs
4. Using air fryer, preheat to 200° 5mins
5. Put the chicken in with potatoes coated with some grapeseed oil as there is no fat in potatoes to prevent dryness
6. Using Philip Air fryer for 25-30 mins 200°
7. When chicken is done, remove from rack, cut up some fresh cherry tomatoes and garnish the chicken. Squeeze the other half lemon onto chicken and serve.

Bon appetit!

Poached Egg Breakfast

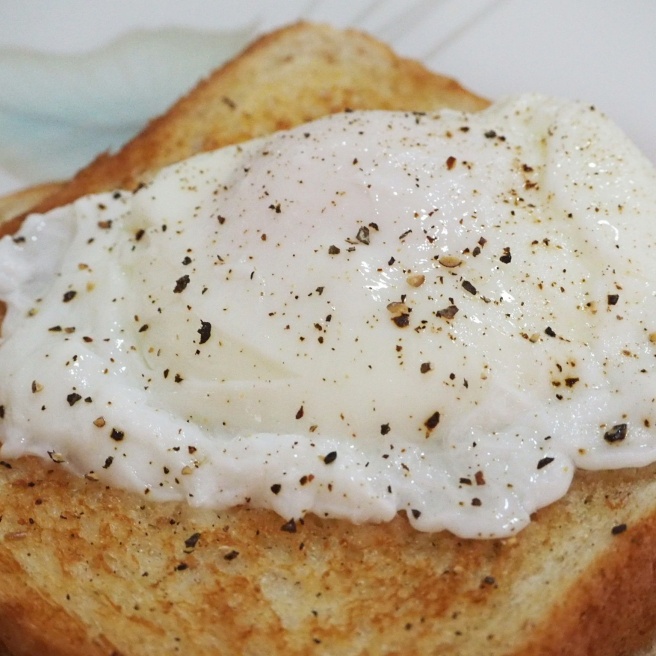
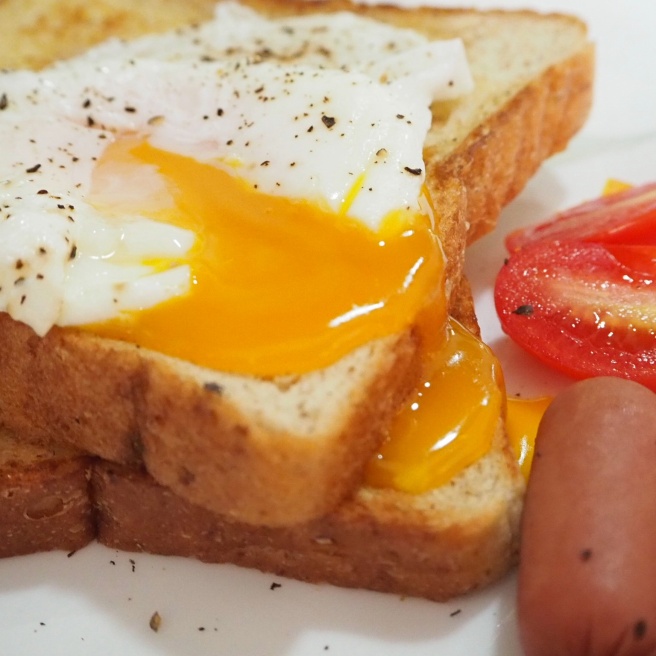
A simple breakfast this morning. Awww… the pepper on the egg with fresh cherry tomatoes and cocktail sausages with pan-toasted bread were good (oops pardon me, I ought to be humble but it was delicious):)

image

image

I tried using salt – result not good. I tried using vinegar – LOVE what I see.

💕 💕 💕